Running the Amsterdam Half Marathon October 2016

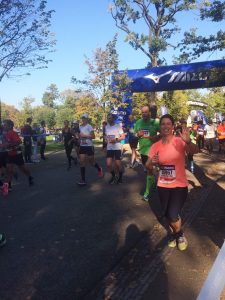
On October 16th 2016 I ran my first half marathon here in Amsterdam. Prior to this I had run a couple of 10km and 5km races years ago. My reasoning behind running the half marathon was that this year I wanted a new physical challenge. I chose running as it was one of the most accessible and convenient forms of exercise I could do, fitting runs in between work. Also I’ve always wondered whether I could actually run a half marathon.

I am one of those people who enjoys having a physical challenge to train and work towards. When I was living in the UK I worked my way through the Chinese kickboxing belts finally achieving black belt. Up until now that has been the most physically and mentally testing event in which I have participated. I do enjoy the discipline required to follow a training programme to ensure you meet your goal. I could have run the half marathon with less preparation but I would not have achieved the time I did and I would have put myself at risk of injury.

I started the official training 6 months prior to the race. Before then I was occasionally plodding around Vondelpark with no set goal, attending bootcamp and personal training once a week. My Personal Trainer Lorna Wilson of Wilson’s Workouts (Wilson’s Workouts) designed a running programme for me to follow to ensure I was at my peak of physical fitness by 16th October. I cannot say I am a passionate runner. However, I did (and still do) enjoy getting outside in the fresh air to exercise. I am not a runner who enjoys listening to music, rather I use the time to clear my head and compose my thoughts, making work and home to do list, thinking about my shopping list, planning weekend social events etc. In fact this blog was written in my head while running around the park. Having the set programme really helped with the motivation as it meant I had to go out running whether I wanted to or not. Apart from a couple of social weekend engagements I was pretty committed to the programme and stuck to it. I even surprised myself by enjoying running on my holiday. Normally when I am on holiday I do very little exercise. However I went away close too the race to justify a week off so I packed my trainers and running kit. I followed my programme and I felt great for it. I got the runs done in the morning and it meant I could enjoy the local cuisine guilt free!

In addition to the running I continued with my conditioning work at Lorna’s bootcamp once a week and personal training sessions once a week. The combination of the conditioning/strengthening work 2x week and running 3x week meant on race day I felt confident and fit. I knew I should be able to complete it as I had managed 20km in training.

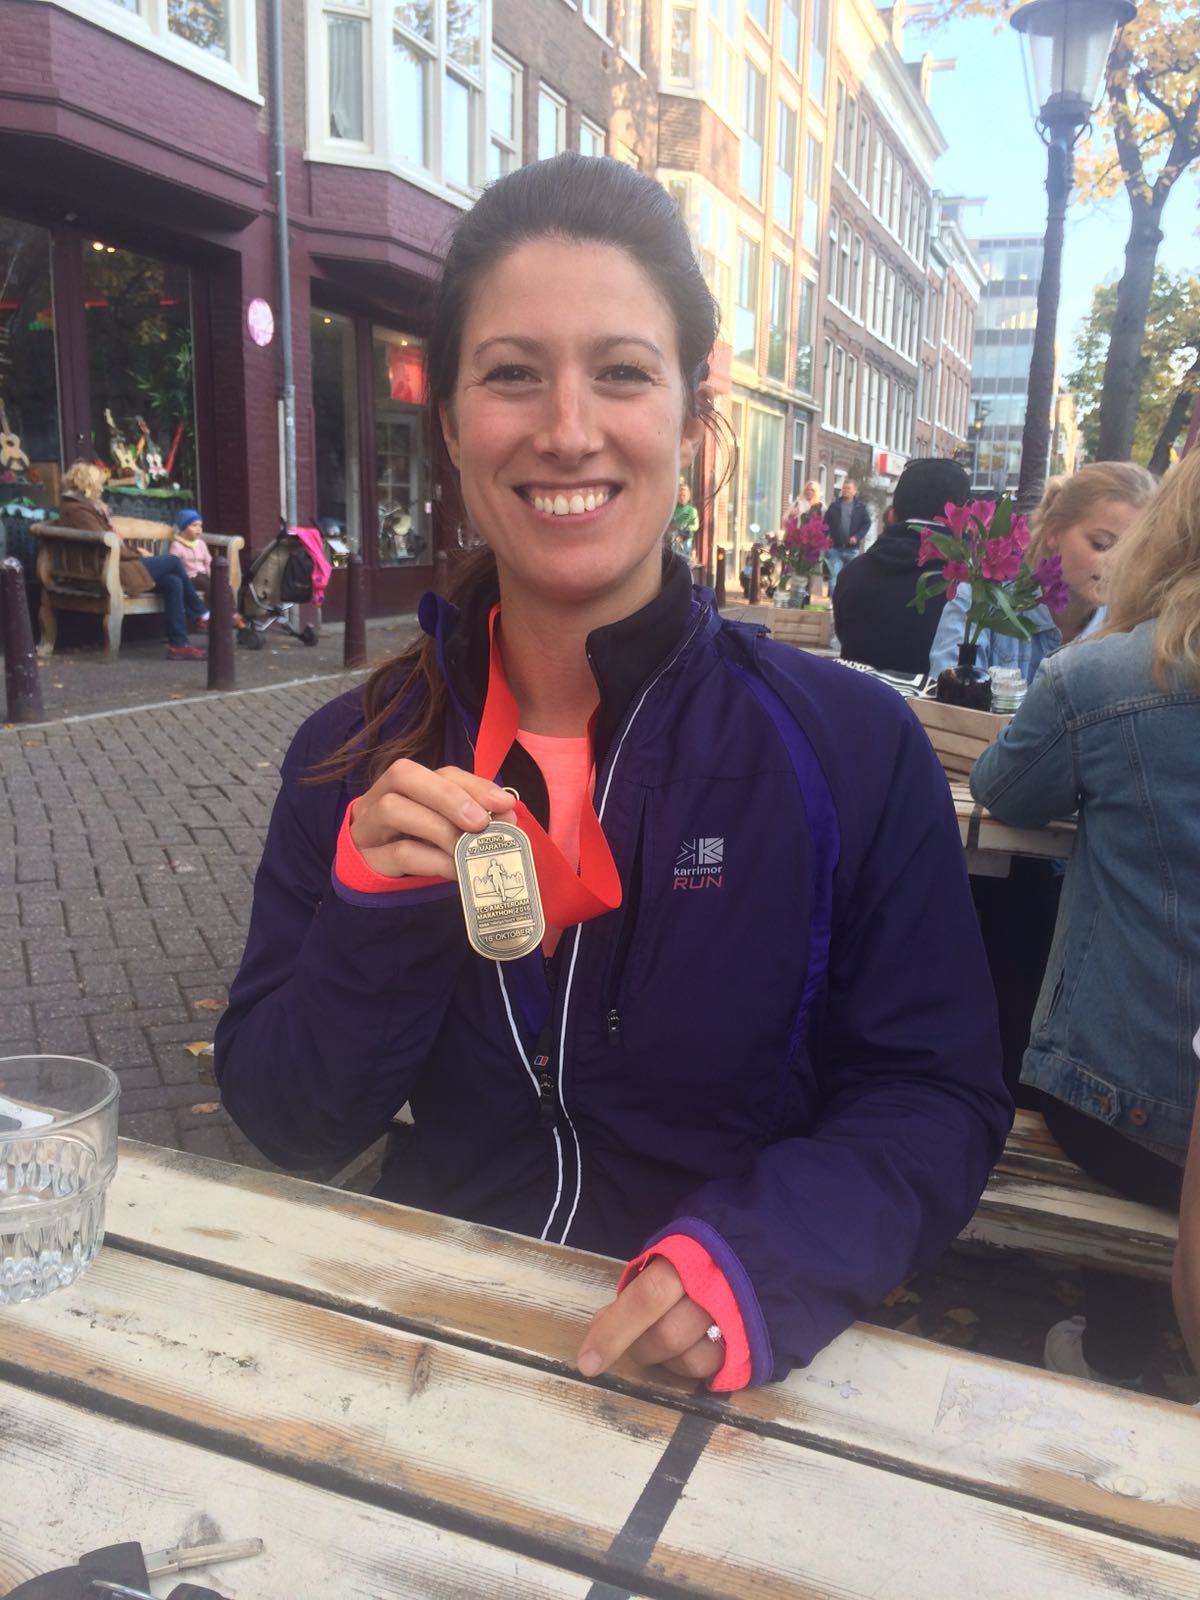
However………on the day it was tough!! I did the one thing everyone advised me not to do…I started off too fast and continued with that pace. After a couple of kilometers into the run I felt comfortable and was really happy with the pace. My goal was always to complete in 2:15 and the pace I started at was faster than the pace I needed to be running at but because I felt so good I didn’t slow down. On the plus side I did run a 5km and 10km BP but on the down side 12-16km were very tough as I got really tired. It took all my discipline to keep going. Fortunately at 16km I slowed down just enough to keep a good pace and to feel more comfortable resulting in beating the 2:15 finish time I was aiming for. I was thrilled with the finishing time of 2:08, even if as I crossed the finish line I was so hot (amazingly hot day for October), tired and a little nauseous.

All the training leading up the run meant that I did not pick up any injuries during the run and I was able to run hard. The following days I was really tired and had extremely tender toe nails but apart from that I felt great. What did surprise me was that during the week after the race I did not run and I really missed it. I was actually looking forward to getting back out there running. That I did not expect!

I have always respected long distance runners, particularly marathon runners, triathletes (half Ironman and full Ironman just blows my mind). I am truly in awe of what they can achieve. The discipline to training and the mental attitude is incredible as I know how much hard work I had to put in to do this race. It does show what you can achieve if you put your mind to it.

So what’s next for me? At the moment I am enjoying running each week but at my pace and at the distances I fancy rather than following a strict programme. I would like to do some 10km races next year to beat my BP and you never know perhaps another Half Marathon. I am not currently feeling the need to do a full marathon but never say never!


half-marathon-2

Dry Needling. What exactly is it?

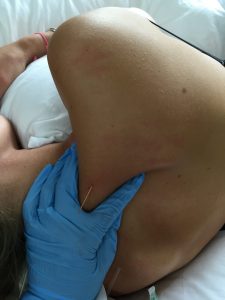
Whenever I mention that I do superficial and deep tissue dry needling as a treatment technique, the very first thing people ask me is “Is that acupuncture?”  The simple answer is “No it is not”.  Acupuncture uses a different mind-set and a different language.  I am not an expert on acupuncture and do not want to do the individuals who practice acupuncture the disrespect of even attempting to explain its concepts and complexities.  However I will discuss it in reference to comparing it with the dry needling techniques I use.

Acupuncture is based on the Traditional Chinese Medicine concept of the meridian system, a belief in a path through which the life-energy known as Qi flows. Acupuncture involves inserting very fine needles into specific points of the body to help stimulate movement of energy within the body.  The goal is to restore the proper flow of Qi.

Both superficial and deep tissue dry needling techniques also use the insertion of fine acupuncture needles into different parts of the body but they are based on a western medicine concept.  The decision on the site and the depth of the insertion of the needle is established through the description of the pattern of pain and symptoms which the patient experiences and the discovery of myofascial trigger points through palpation.

A myofascial trigger point is an exquisite spot of tenderness in a nodule of muscle.  When pressure is applied to the tender nodule it reproduces the pain that the patient has been describing.  The science behind the development of thenodule within the muscle is complex and a little hard to explain but ultimately it occurs due to over use, over loading, over stretching and over working the muscle which causes an energy crisis in the muscle, resulting in the painful nodule and referred pain pattern.  The insertion of the needle (particularly with deeper muscles) helps increase blood flow to the area in a way that simple palpation cannot.  This counteracts the local energy crisis and so help reduce/remove the tender nodule that is causing the pain.

Superficial dry needling technique is also used.  The needle is inserted more superficially over a specific are, rather than deep into the muscle.  This technique is often used for pain relief over a specific area.  For example if you have sprained your ankle, superficial dry needling can be used above the injury to help relieve the pain caused by the injury.  This occurs due to the stimulation of certain pain fibres that result in a natural opioid release– which is your own body’s natural pain relief.  As a result of controlling the pain further therapy can commence and it reduces the risk of secondary problems associated with pain.

It is important to understand that dry needling techniques are not a quick fix.  They may well help reduce/resolve some symptoms.  However the reasoning behind the trigger points forming in the first place need to be established.  If they are not addressed then there is a strong likelihood that the trigger points and the symptoms will return in the future.  Dry needling is an excellent treatment technique to use alongside other physiotherapy treatments for example education/advice, stretches and exercises.

dtn


Massage

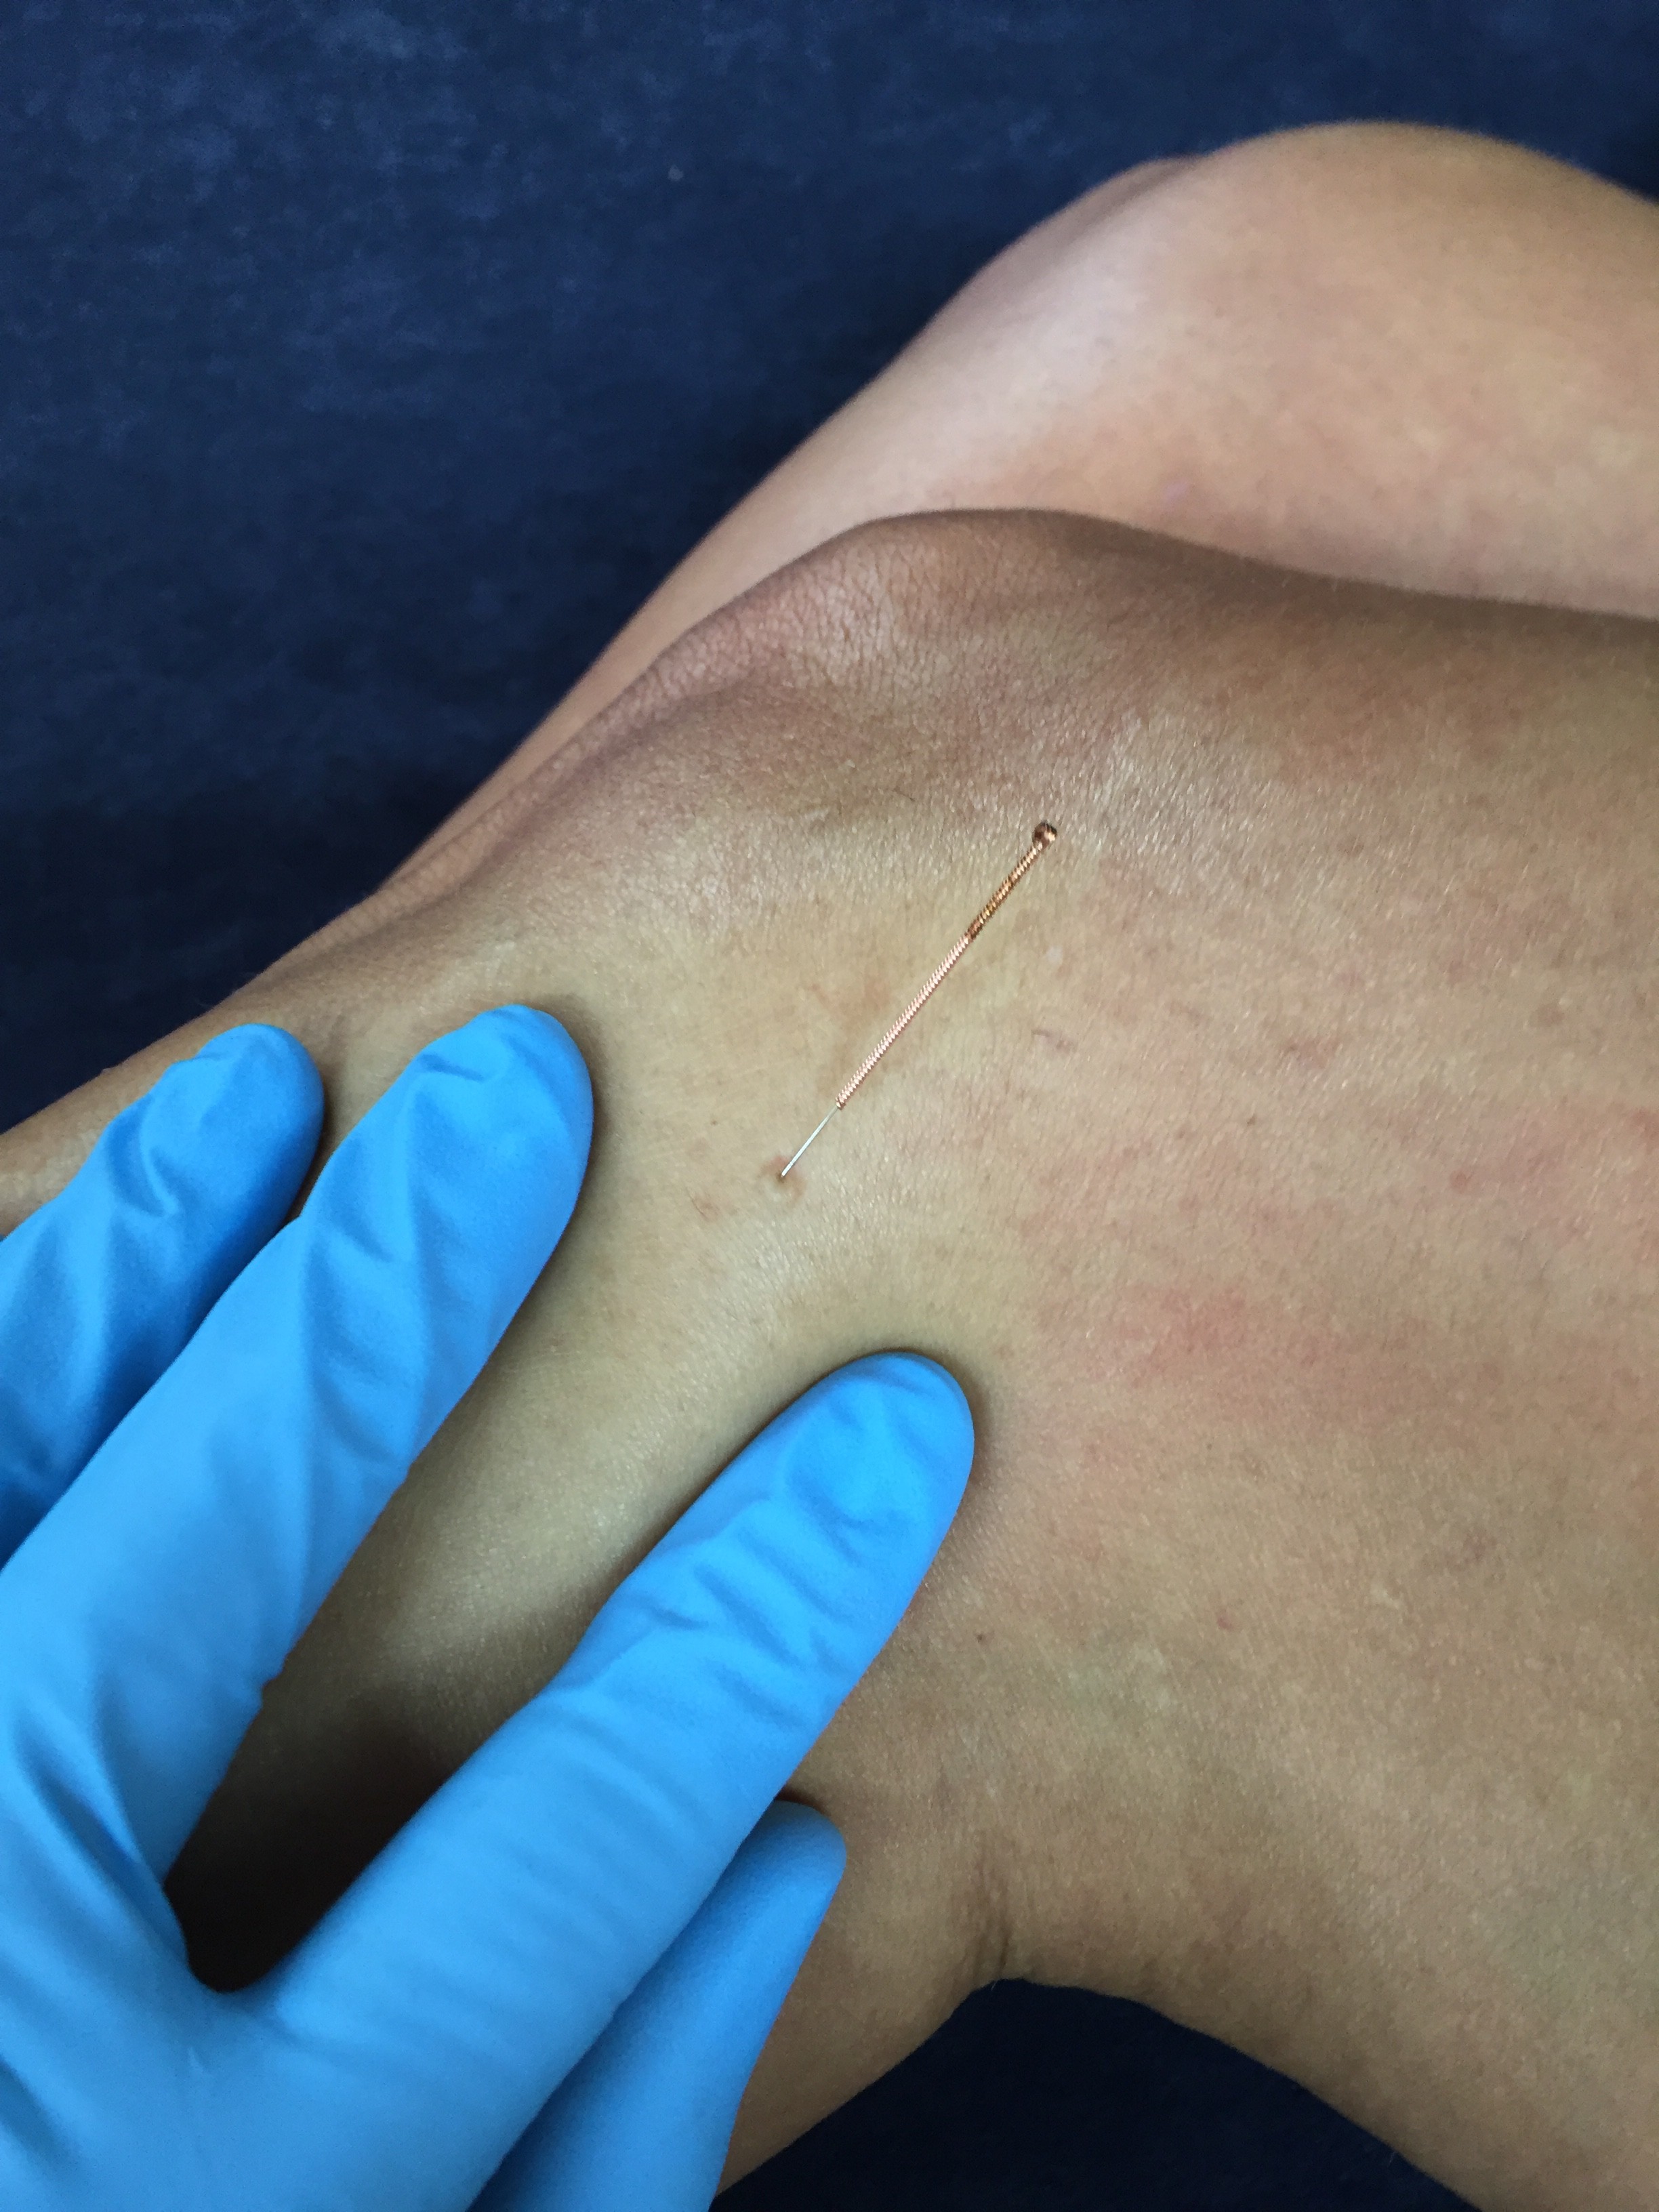
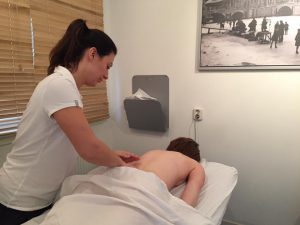
The term massage is a generic word that covers a wide range of soft tissue techniques that are used inside and outside the therapist treatment room. Massage is just one component of physiotherapy holistic intervention and is normally used in conjunction with other elements of physiotherapy treatment techniques.

I have found using massage in conjunction with other physiotherapy treatment techniques to be a highly effective treatment combination. There are so many physical and psychological benefits to massage:

– Touch can be comforting
– Aids the relaxation of muscles which helps relieve muscle tension
Reduces pain
Increases blood and lymph circulation
Increases range of movement and flexibility
Releases endorphins (happy hormone)
Improves the immune system
Increases oxygen flow
Postural improvements
– Helps with improving sleep
Increases energy
Rejuvenates tired muscles in an athlete

Many of those points can be interlinked. For example relieving muscle tension in the neck might reduce pain, increasing ability to sleep and therefore reducing stress levels.

However you don’t have to be in pain/recovering from a sporting activity/under physiotherapy treatment to benefit from a massage. The above points can benefit everyone. Ultimately massage can help with relieving the body of physical and mental stresses that day to day life throws at us all, which in turn improves overall wellbeing. I personally feel most people would benefit from a regular massage. To you it may feel like a pampering but it is actually a highly effective investment in your own health.

IMG_9203

Pilates – Practicing What I Preach

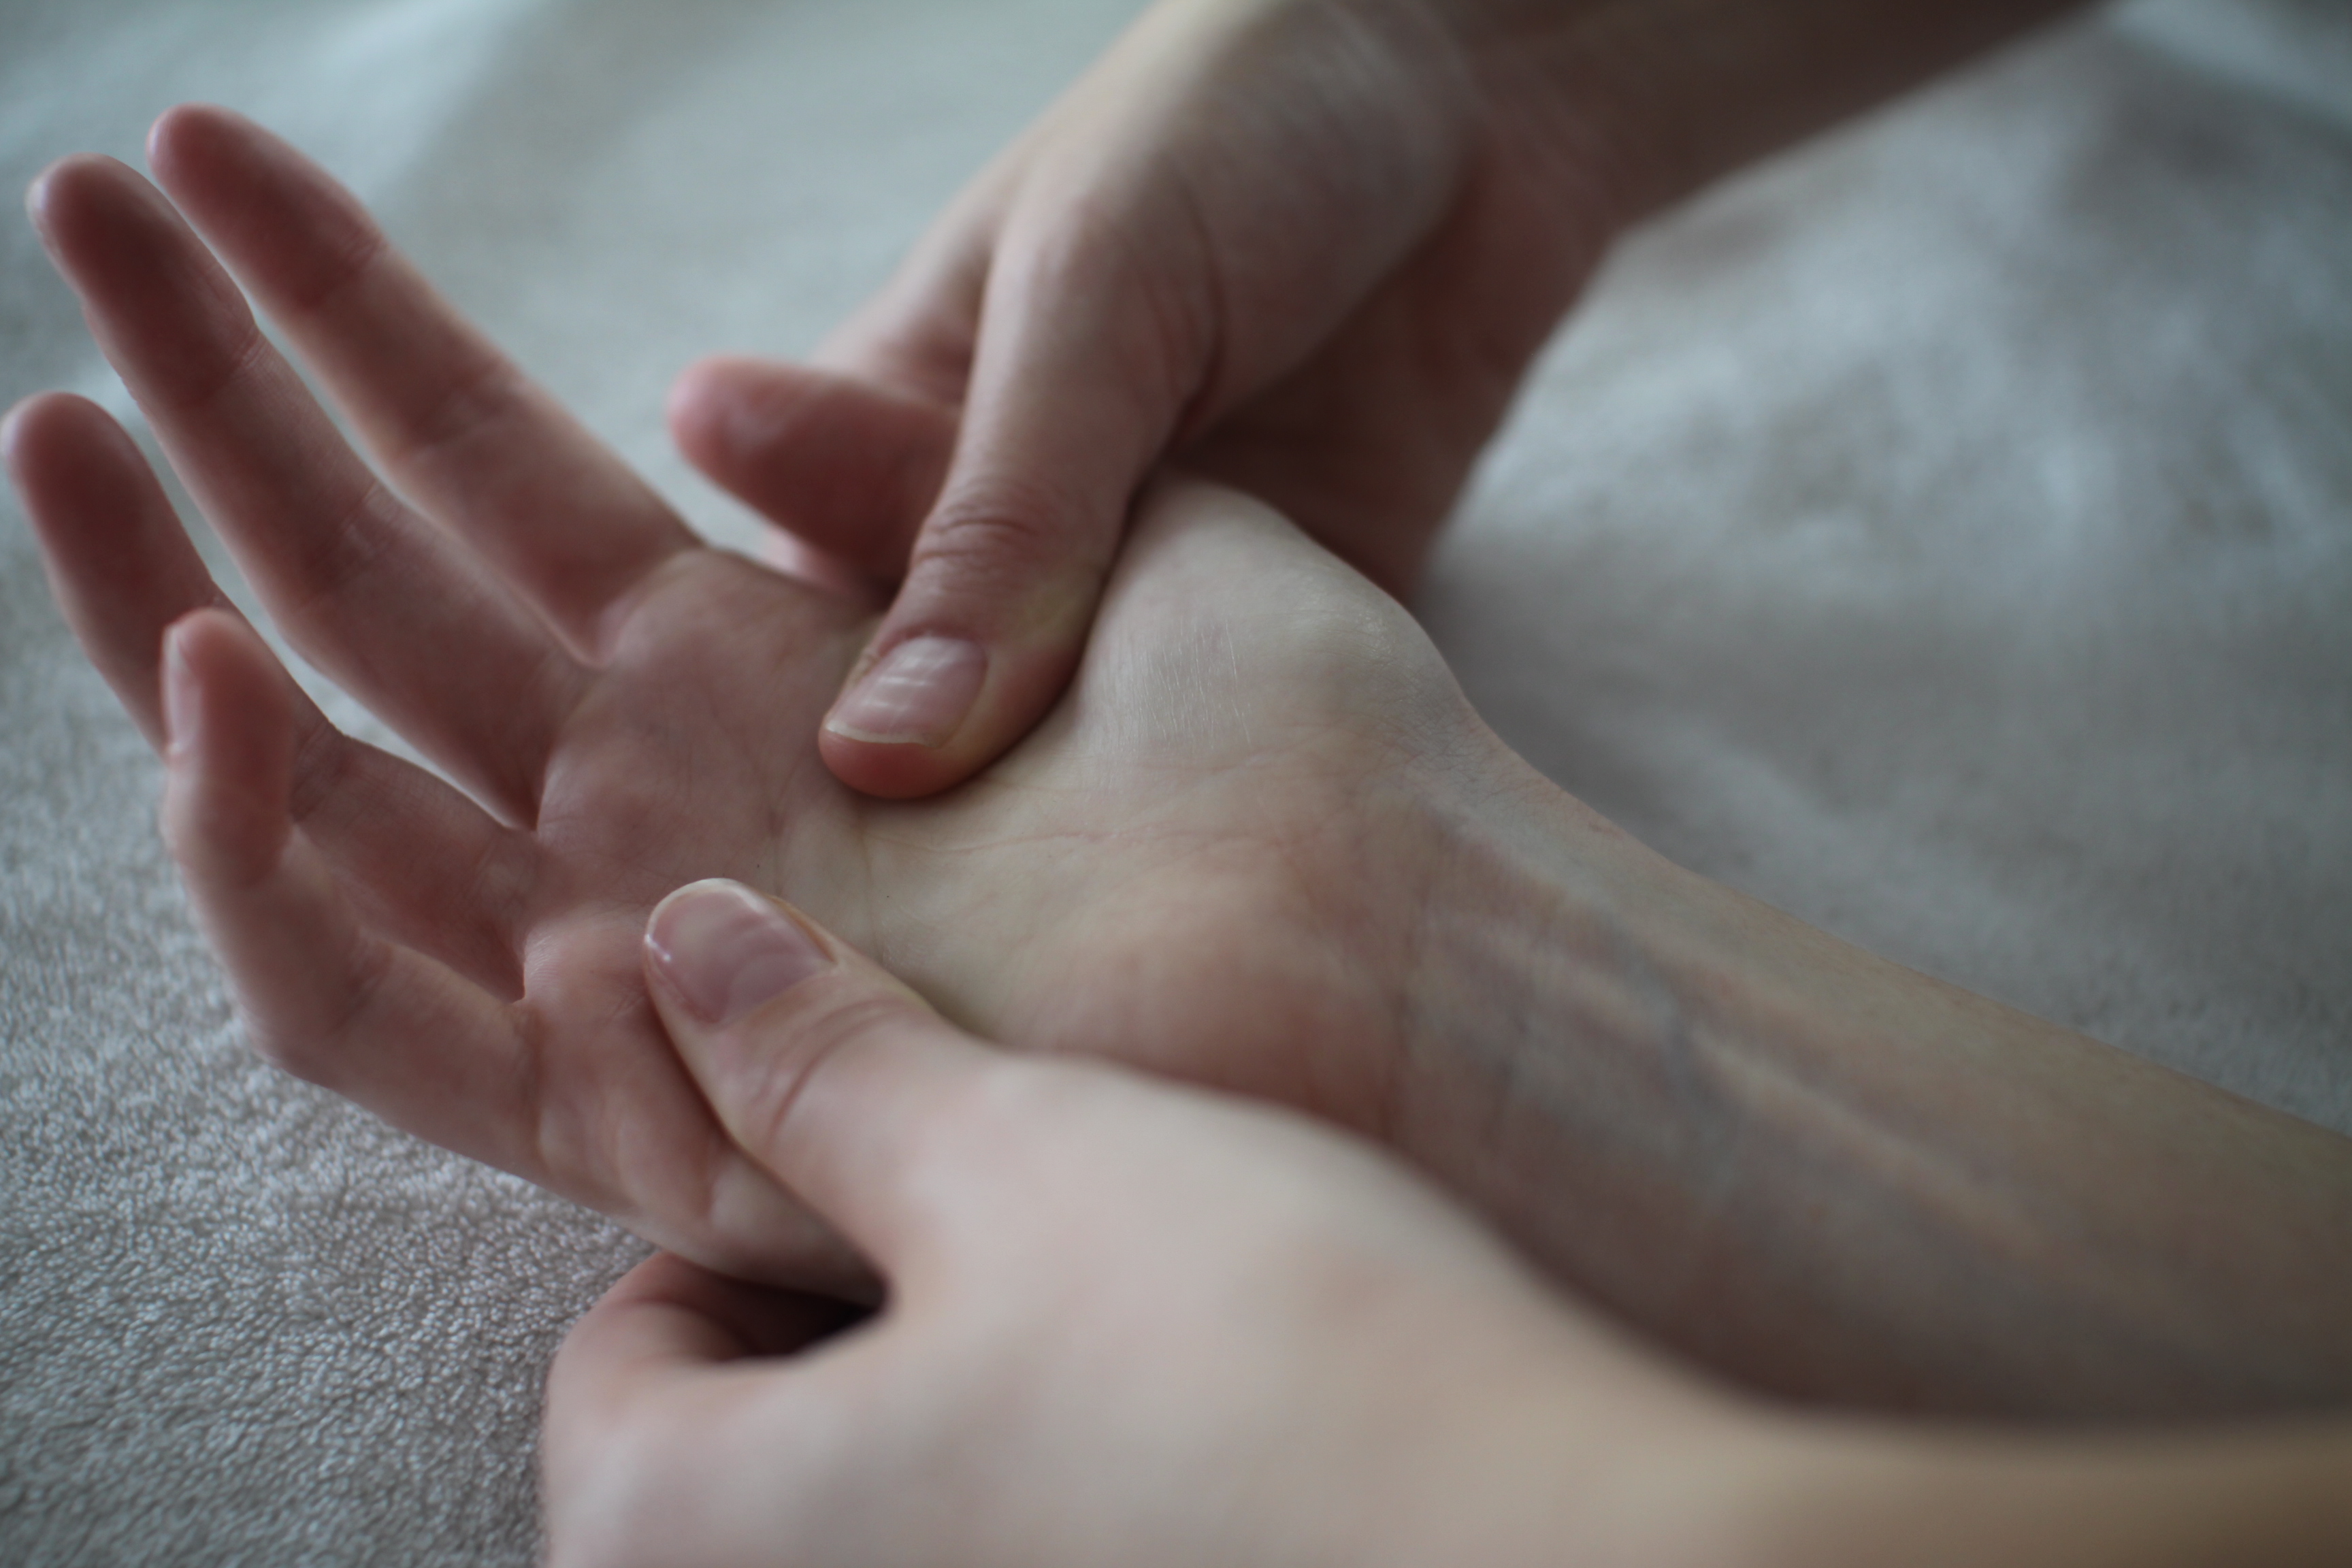
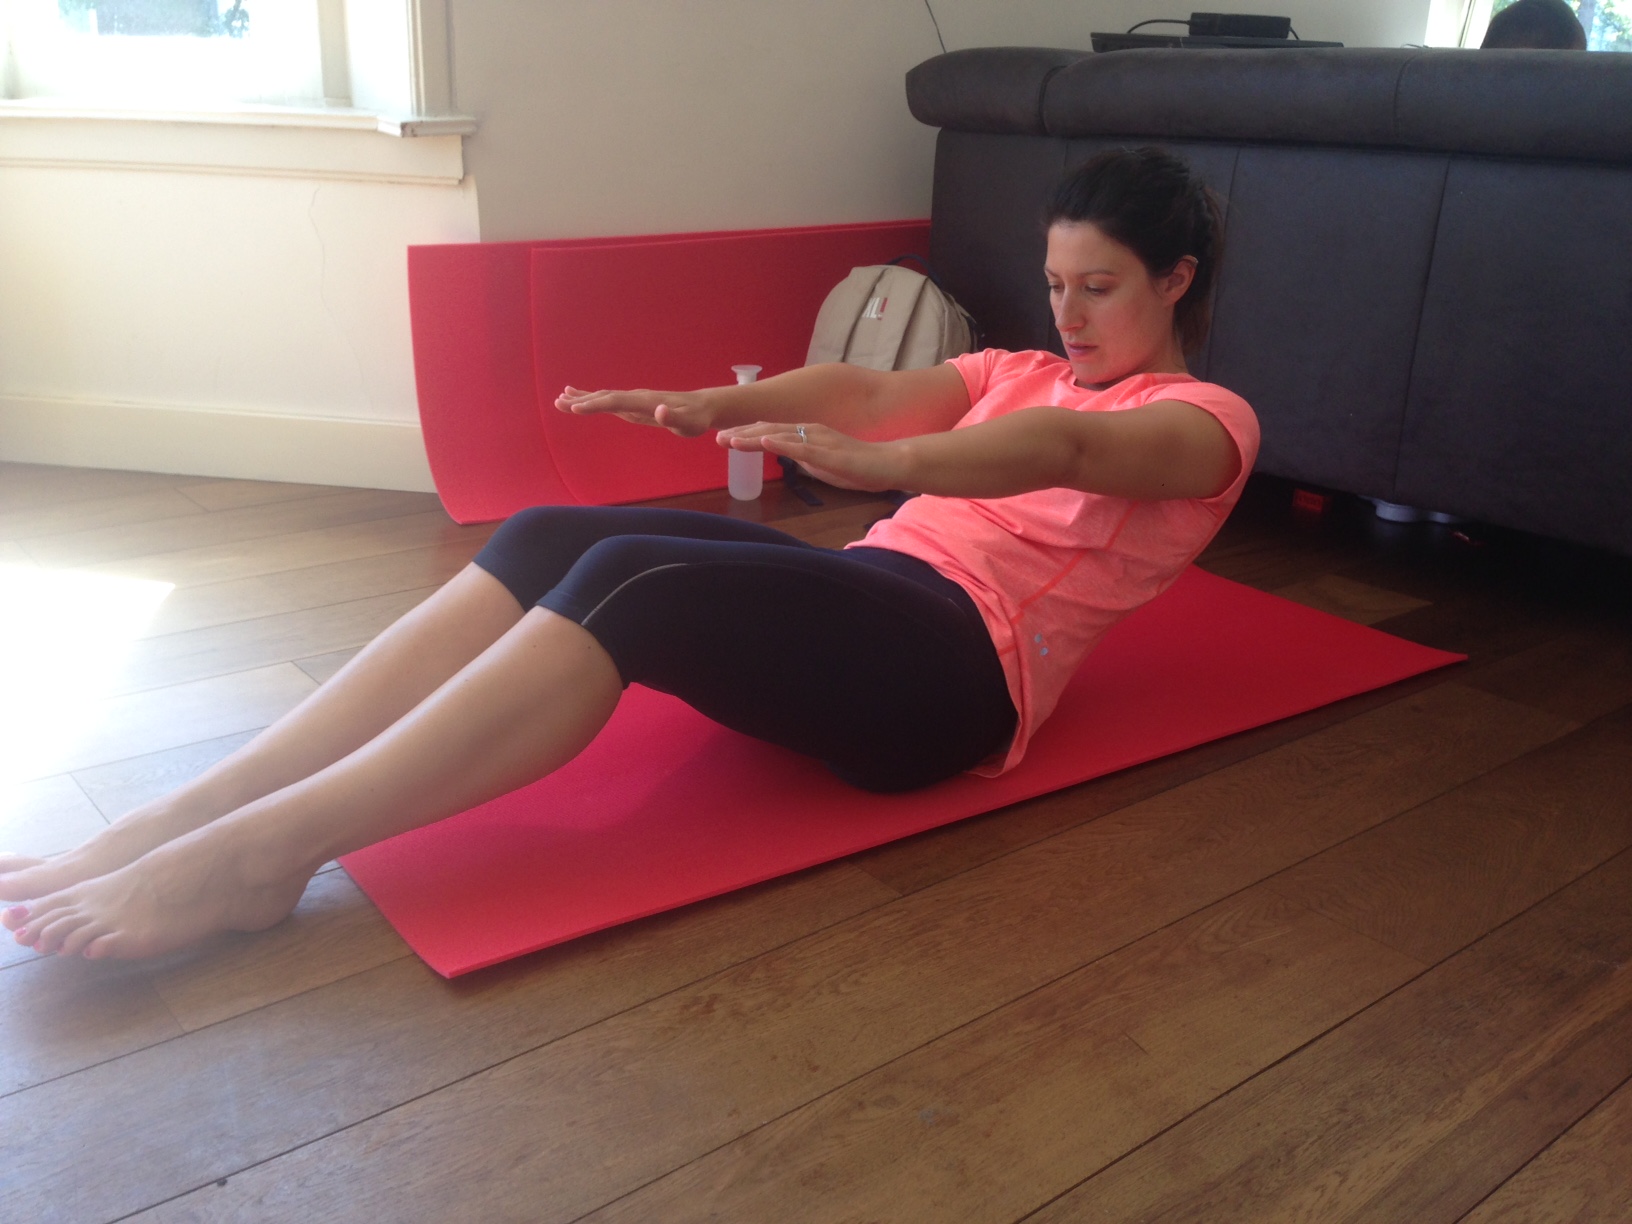
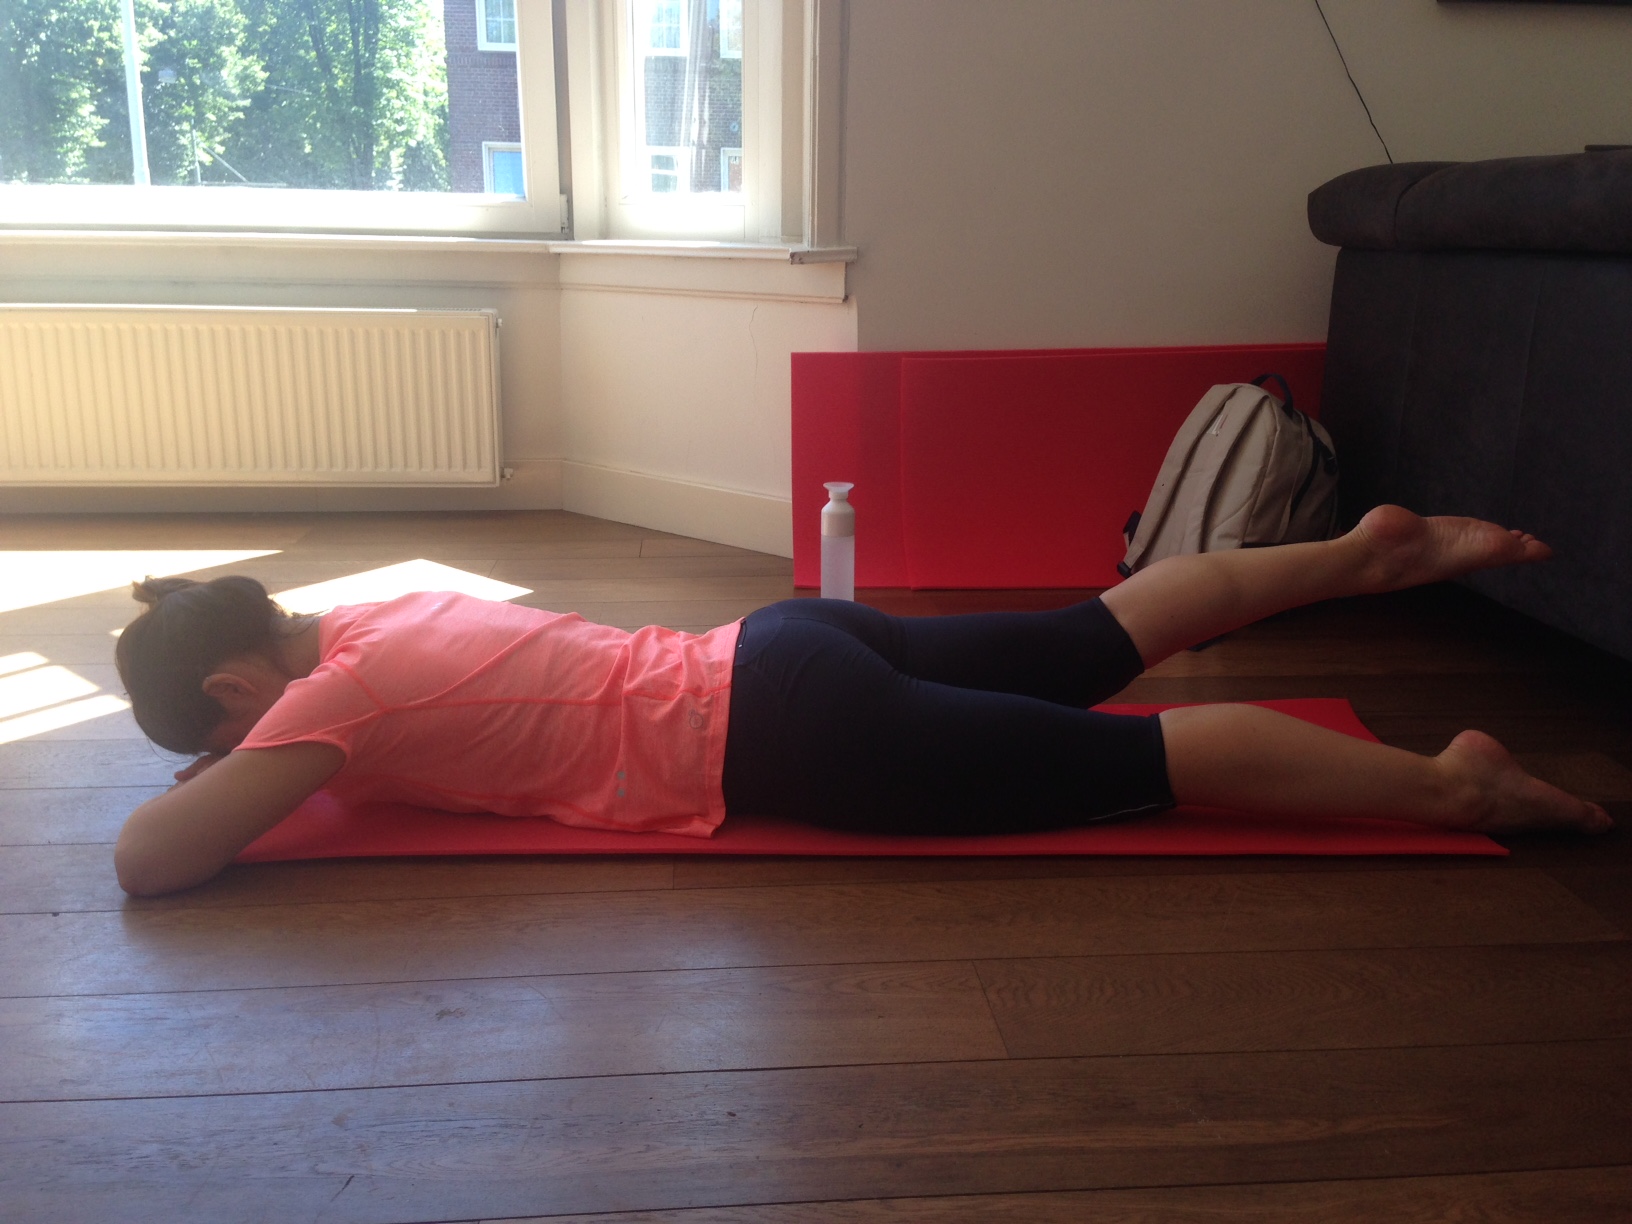
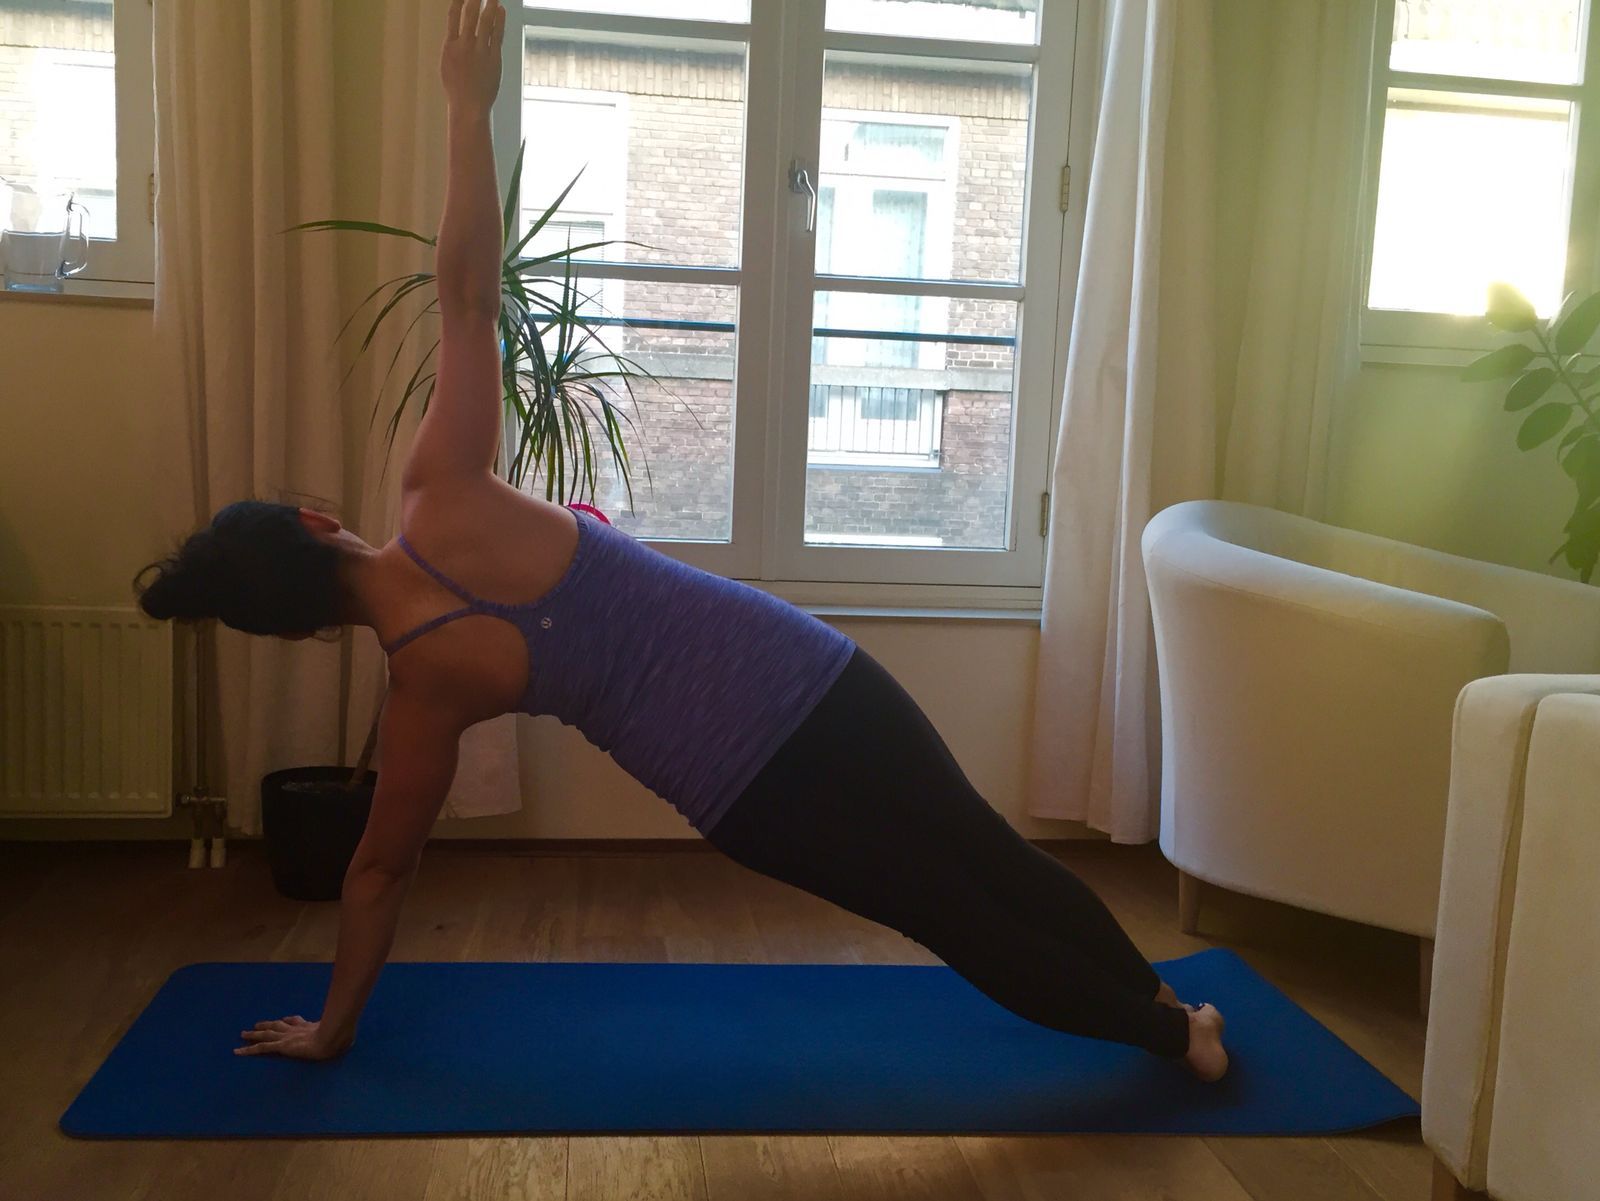
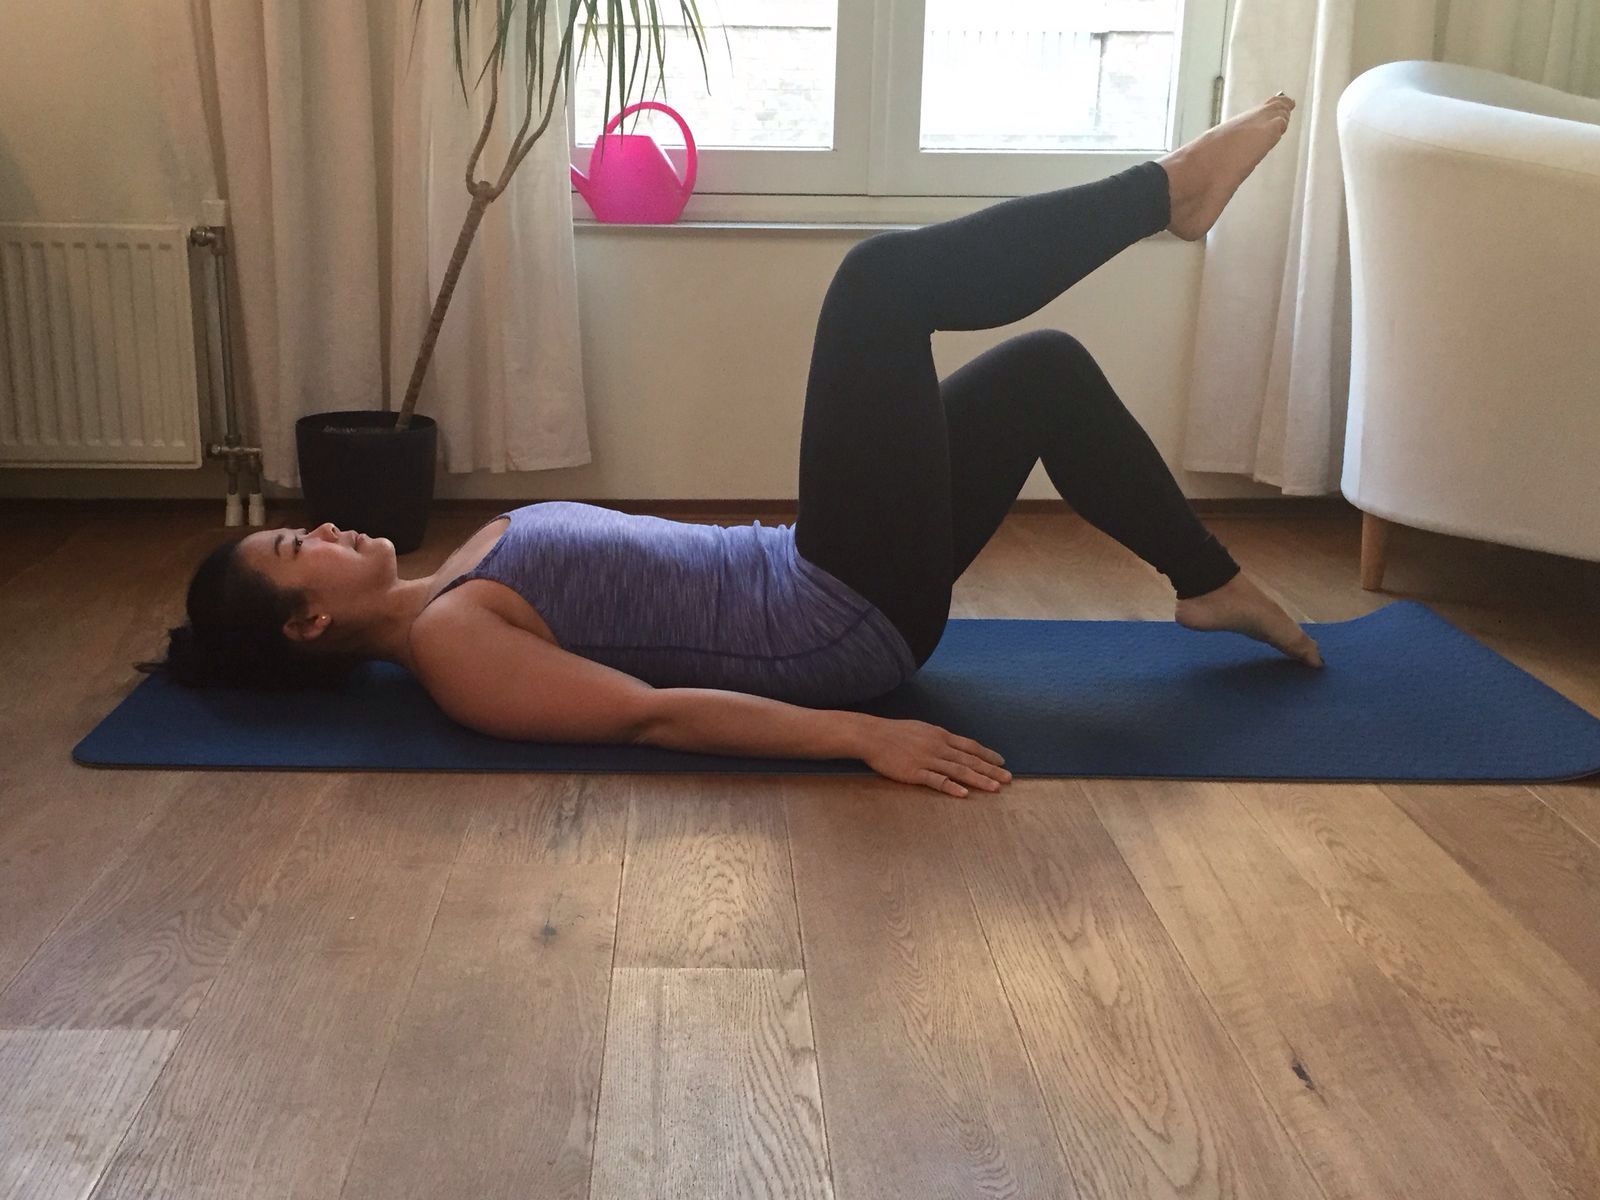
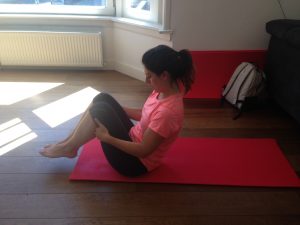
I have mentioned core stability before in my blogs and have spent the last 2 years working on my core strength. So, I felt it was time to practise what I preach by going to a Pilates class.
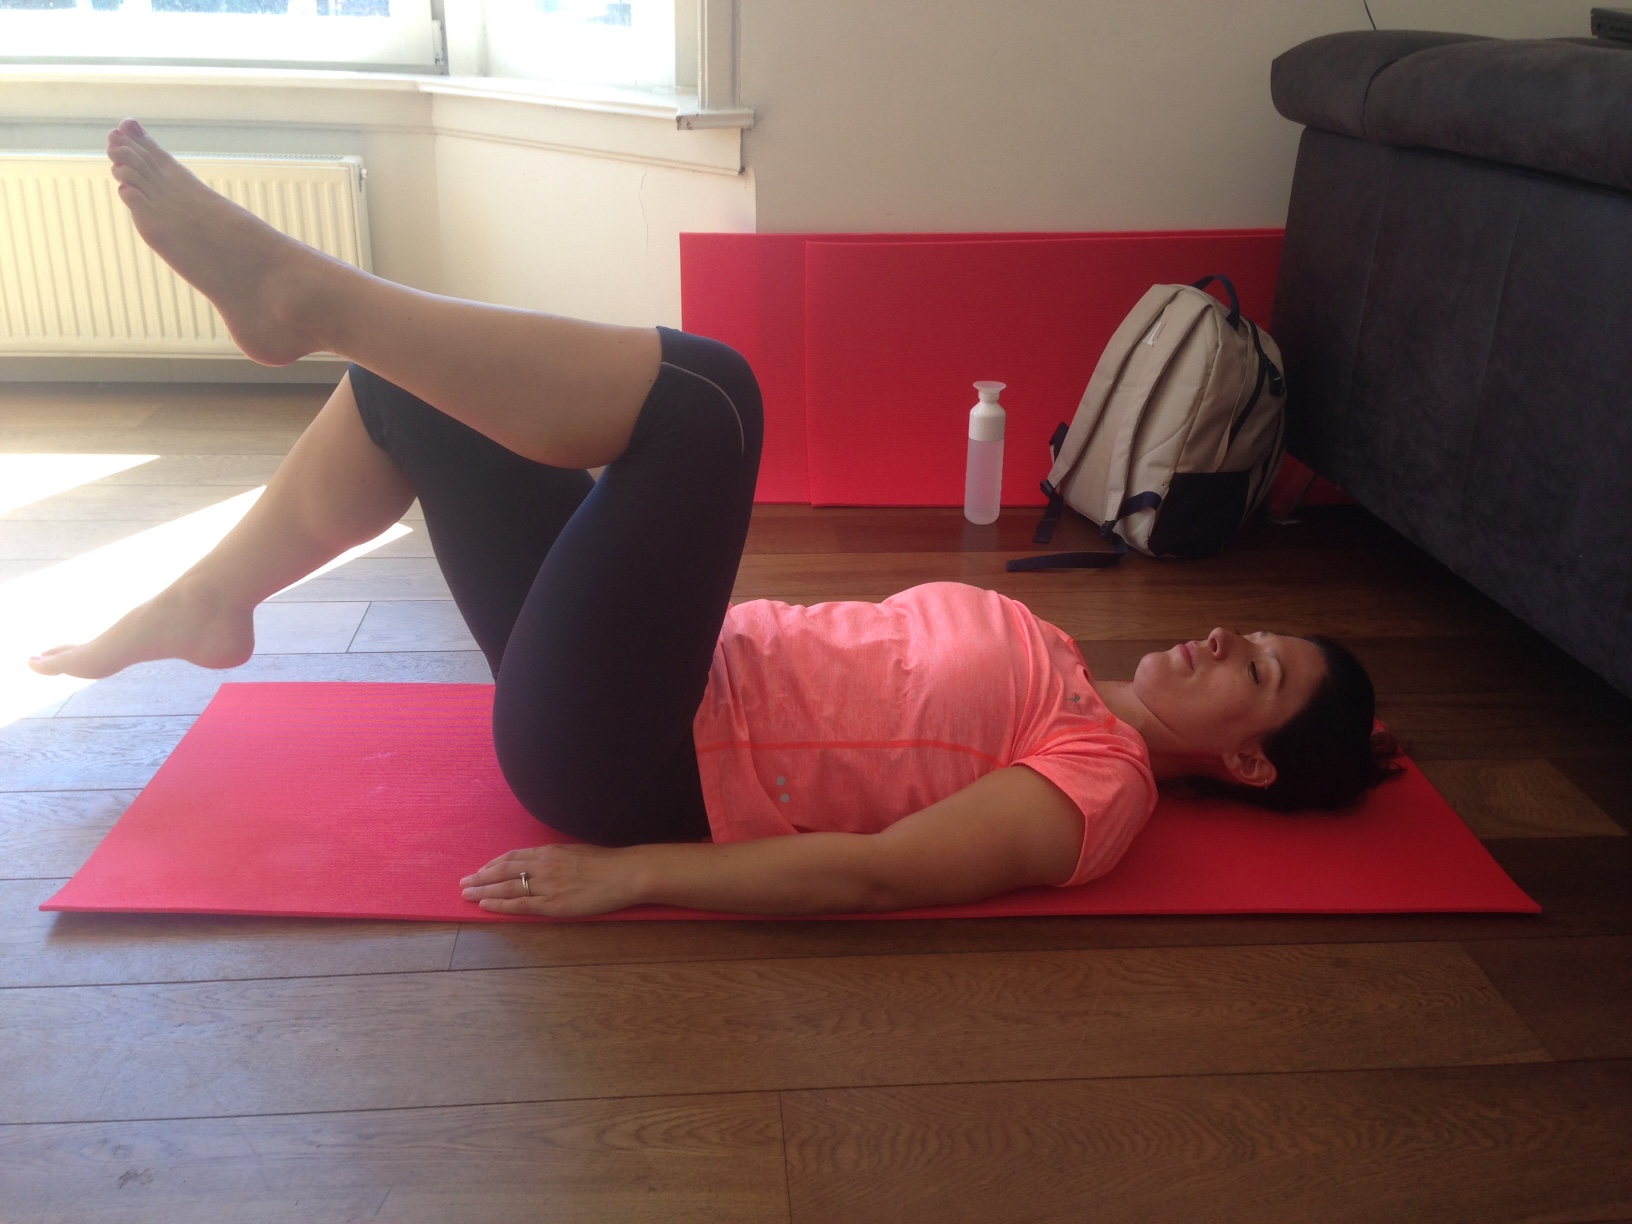
Essentially, Pilates focuses on the postural muscles in the body, building strength from the inside out. It can help to correct postural alignment and educates the body on proper and more efficient movement patterns. It was developed nearly 100 years ago and is taught internationally to date.

Some of the benefits are:

  • Stability of the entire spine, pelvis and shoulder girdle
  • Strengthening of the pelvic floor, deep abdominal musculature and gluteals
  • Strengthening of the upper and lower extremities
  • Spinal mobility and flexibility
  • Peripheral joint mobility and flexibility
  • Overall postural improvement

Pilates 1Pilates 2


I really believed I could physically improve from practising Pilates particularly as I naturally have a very stiff spine and find certain movements quite difficult. So, I joined a beginners class two months ago and I can already feel the benefits. I am getting more spinal movement and my strength is improving. In two months I have noticed some of the exercises have become easier and my movement more efficient. As a result of my experience I now recommend Pilates to my patients.

The class is an hour long and I love for that one hour I feel completely in tune with my body.   It is a very enjoyable experience.  My teacher Michelle is excellent at instructing what we need to do and it takes all my concentration to try and get my body to do it!  I am one of those people who finds it very hard to switch off mentally.  I am always thinking about the next thing, whether it is something about work or what I need to pick up for dinner.  My mind never stops.  However in that hour class all I do is fully concentrate on the movement of my body and the activation of the correct muscles, completely clearing my mind of its usual busy thoughts.

Pilates is certainly challenging, getting your body and spine to move in particular ways but like everything the more you practise it the easier it becomes.  It is a very satisfying to feel the benefits and see the progress over the weeks.

You do not need to have an injury, be in pain or have an active problem to profit from doing Pilates.  The list of benefits above can be applied to everyone. It is important to remember that each person moves differently, with different physical limitations.  If you have a good Pilates teacher they will be able to instruct accordingly.

Put quite simply – Pilates has so many physical and mental benefits and I am loving it!  Give it a go.


Pilates 4

Core Stability Exercises

As promised ( in How to Carry Out Core Stability Exercises Correctly  ) I want to go through a few basic core stability exercises that can be carried out at home or in the gym. These exercises are a great way to train the muscles around the lower spine and pelvis. It is worth noting that it is important that the exercises are done correctly. If you are unsure of your technique I would always encourage you to get advice and have a professional (eg. physio/personal trainer/yoga instructor/Pilates instructor etc) observe how you are carrying out your exercises. If you are currently experiencing or have a history of lower back problems I recommend you seek advice from a physiotherapist before commencing any of these exercises.

Before trying the exercises listed below it is worthwhile seeing if you can actually activate your deep stabilising muscles. Can you carry out the action of “drawing in” your abdominals? Most people, on their first go end up drawing their stomachs in by taking a deep breath in which is not correct. It’s surprisingly harder than you think! Have a go:
Lie on your back with your knees bent and feet flat on the floor. Draw your stomach (abdominals) in towards the floor (towards your spine) without taking a breath in at the same time. Keeping your stomach drawn in now push the lower part of your back that is at present not in contact floor down into the floor. Your pelvis will tilt forwards a little (Fig 1)

trans abs blog Fig 1

If you are not quite sure you can try it in another position:
Kneel on all fours, with your hands directly below your shoulders and knees below hips. Draw you abdominals up towards your spine without taking a breath in. At the same time tilt your pelvis slightly forwards
Once you have mastered the position you can concentrate on breathing in a normal manner, holding the contraction for 10 seconds.

When you feel you have learnt to stabilise your back/pelvis region (through the above exercise) then you are ready to try the exercises below (starting position is on the floor):
1. The Plank (Fig 2): Positioned face down. Support yourself on your forearms and through your feet (toes), with your pelvis in a neutral position (don’t let your bottom sink or stick up) and your legs fully extended. Brace your stomach and buttocks throughout the exercise. Aim to hold for 30 seconds but discontinue if you start to feel your back.

plank blog Fig 2

2. The side plank (Fig 3): Position on your side. Support yourself on one forearm and the side of the lower foot. You can have the top foot placed on the floor in front on the lower foot or on top of the lower foot. Lift your hips off the floor to get the body into a straight line. If you can, lift your upper arm up towards the ceiling. Brace your stomach and buttocks throughout the exercise. Aim to hold for 30 seconds but discontinue if you start to feel your back.

side plank blog Fig 3

3. Bridging (Fig 4): Lying on the floor with your knees bent and feet flat on the floor. Draw in your abdominals. Squeeze your buttocks together and lift your pelvis off the floor until the body is straight. Hold for 10 seconds and then slowly lower to return to the staring position.

basic core blog Fig 4

4. Superman four point kneeling position (Fig 5): Kneel on all fours with your hands under your shoulders and knees under your hips. Draw your abdominals in. Raise one hand off the floor (as if you are reaching forwards) at the same time lifting the alternate leg off the floor (as if it is being pulled behind you). Repeat this action with the other two limbs.

superman blog Fig 5

The number of repetitions depends on how many you can manage. It is better to do less if it means each repetition is done correctly. It is beneficial to be working on your core stability a couple of times a week.

There are so many exercises that can be completed to help with core strength. The exercises can be made progressively harder through introducing controlled movement or holding the position for longer or even adding another element to the exercise for example using a swizz ball.

If you are keen to work on your core conditioning you are welcome to contact me and we can design a programme that is appropriate for you. Alternatively Pilates is an excellent way to exercise the whole body and mind, working on improving strength, suppleness and control (Michelle Lee at Michelle Lee Pilates Plus is an excellent teacher michellejlee84@gmail.com). Have a go and enjoy!

How to Carry Out Core Stability Exercises Correctly

In my prcore stability plankevious blog The Importance of Core Stability I introduced core stability and touched on its definition and importance. In this post I want to spend time discussing some basic dos and don’ts when it comes to working on training the muscles around the lumbar and pelvis region.
I think one of the fundamental things when trying to improve your strength/conditioning/endurance in that region is ensuring correct technique of the exercise you are carrying out. There are plenty of exercises that can be followed but they have to be done properly if they are to be effective. Here are a few points to help ensure you are doing your core stability exercises correctly:
– Position of the stomach: When you are carrying out stomach exercises your stomach needs to be drawn inwards (i.e. making your stomach flat. You do this by taking your naval inwards towards your spine). This helps activate deep stabilising muscles. If you find your stomach is bulging outwards then the exercise is either too difficult for you or you are not doing it correctly.
– Breathing: Make sure you breathe when you do your exercise. It’s pretty common for people to tend to hold their breath when doing stomach exercises.
– Position of the body: Ensure your body is correctly aligned. Be aware of the position of your upper body and pelvis. If the exercise involves movement, always carry out the movement with control and as smoothly as possible.
– Repetitions/time: Some exercises require a number of repetitions, whilst some need holding for a length of time. Either way start with a realistic low number and gradually build either number of repetitions or time. If you start to feel your back when doing the exercise then stop and rest before starting on the next set of exercises.
– Sit ups/crunches: It is no longer advised to carry out the “traditional” sit up as they cause increased compression loads on the lumbar spine.
– Progression: The exercises for core stability need to be progressed from training specific isolated muscles to training as a full unit in more functional and dynamic activities.
– General exercises: If you brace your stomach (draw it inwards) when doing a specific exercise, for example a squat, you will immediately have a better technique.
These suggestions are designed for people who are already involved in a programme that addresses core stability. Bear these points in mind and they will enable you to focus on a good technique.
This brings me nicely onto introducing a few key, basic core exercises in my next blog. Until next time……


The Importance of Core Stability

Patcore stabilityients, friends and family that ask me about physiotherapy will have heard me talk about core stability. It is one of my favourite buzz words. There is a good reason behind my love of these two key words.

Core stability put very simply is: Lower back (lumbar region) and pelvis control. It is the focal point of the body that provides a framework for movement of all four limbs, gives support to loads (for example the weight of the body and/or additional external weight from lifting an object) and protects the spine. With such a vital, diverse role within the body it is no surprise that it is so important. Working on core stability is very often neglected or carried out incorrectly.

So what does “working on core stability” involve? What does it mean? Basically it is training the muscles around the lumbar and pelvis region. It is using the muscles at the front, back and sides of the trunk and pelvis in the correct way at the right time. To ensure this is done the muscles need to be trained. Training targets to increase the strength and endurance of the muscles.

This is why working on core stability is key for many areas of rehabilitation. It is a fundamental element of back care. It is not just important for lower back care management but also neck and thoracic pain/stiffness. I have previously mentioned in my Runners Niggles blog the importance of strength and conditioning work for runners. All athletes (not just runners) should be taking time within their training programme to be working on this area.

On occasions when I am discussing core stability with patients they proudly tell me they are working hard on improving their abdominal control, through crunches and various other exercises that at times actually cause them discomfort. It is great to hear the motivation and drive to work on core stability but it is essential to get the techniques right. Poor technique puts the spine in a vulnerable position as well as neglecting to train the correct muscle groups. It should be all about the quality of the exercise. Good technique ensures the appropriate muscle groups are being used.

There are so many ways to improve core stability and little tips on how to improve your current techniques that I need to write a whole separate blog on them. Watch this space!


Setting Goals and Staying Motivated

We are into the third week of the new year. Which means almost 3 weeks of trying to stay fully motivated to work towards the new years resolutions/goals you’ve set yourself. How do you keep that motivation going? That isn’t an easy question to answer. One of my roles as a physiotherapist is to keep patients motivated whilst participating with their therapy (and other areas of their health). Here are a few little tips for you to consider when setting goals and to help you stay motivated:

1. Make the goal realistic. If you have a hectic lifestyle, splitting your time between many different aspects of life, then don’t put too much pressure on yourself. Start with a small goal that is sensible and set over a reasonable period of time. For example if you want to start an exercise programme be realistic about the amount of time and energy you have to engage in the programme. This means the changes you make will become more of a habit rather than a chore and will cause you less stress trying to maintain them.

2. Is the goal achievable? Have you set yourself a target that is feasible and practical to obtain? If your ultimate goal is quite large and significant give yourself small, short term goals that you can build on to achieve the long term goal. This will help you maintain your focus and drive. If you are constantly working towards new small goals, you will gradually see the changes you achieve that will enable you to achieve your long term goal.

3. Stay patient. That can be a hard one. Making changes and seeing the rewards takes time. Make sure you regularly evaluate how far you’ve come. It’s great to have an end goal in sight, but don’t neglect to monitor the progress you’re making along the way. Even little improvements are significant. Compare yourself to where you started rather than where you want to be and you will be surprised to see how far you’ve come.

4. Why did you set the goal in the first place? It is important not to lose sight of why you originally set the goal. There was a reason why you wanted to make a change: don’t forget that reason! Over time, as you work towards your goal, it is possible you may find that the methods you use change and even the goal itself changes. Adapting is all part of what makes life interesting!

Setting goals is the easy bit. Working on achieving the goal and staying motivated, can at times be the difficult and tiresome part of making the changes. Remember anything that is worth having is worth working hard for!


my PT session
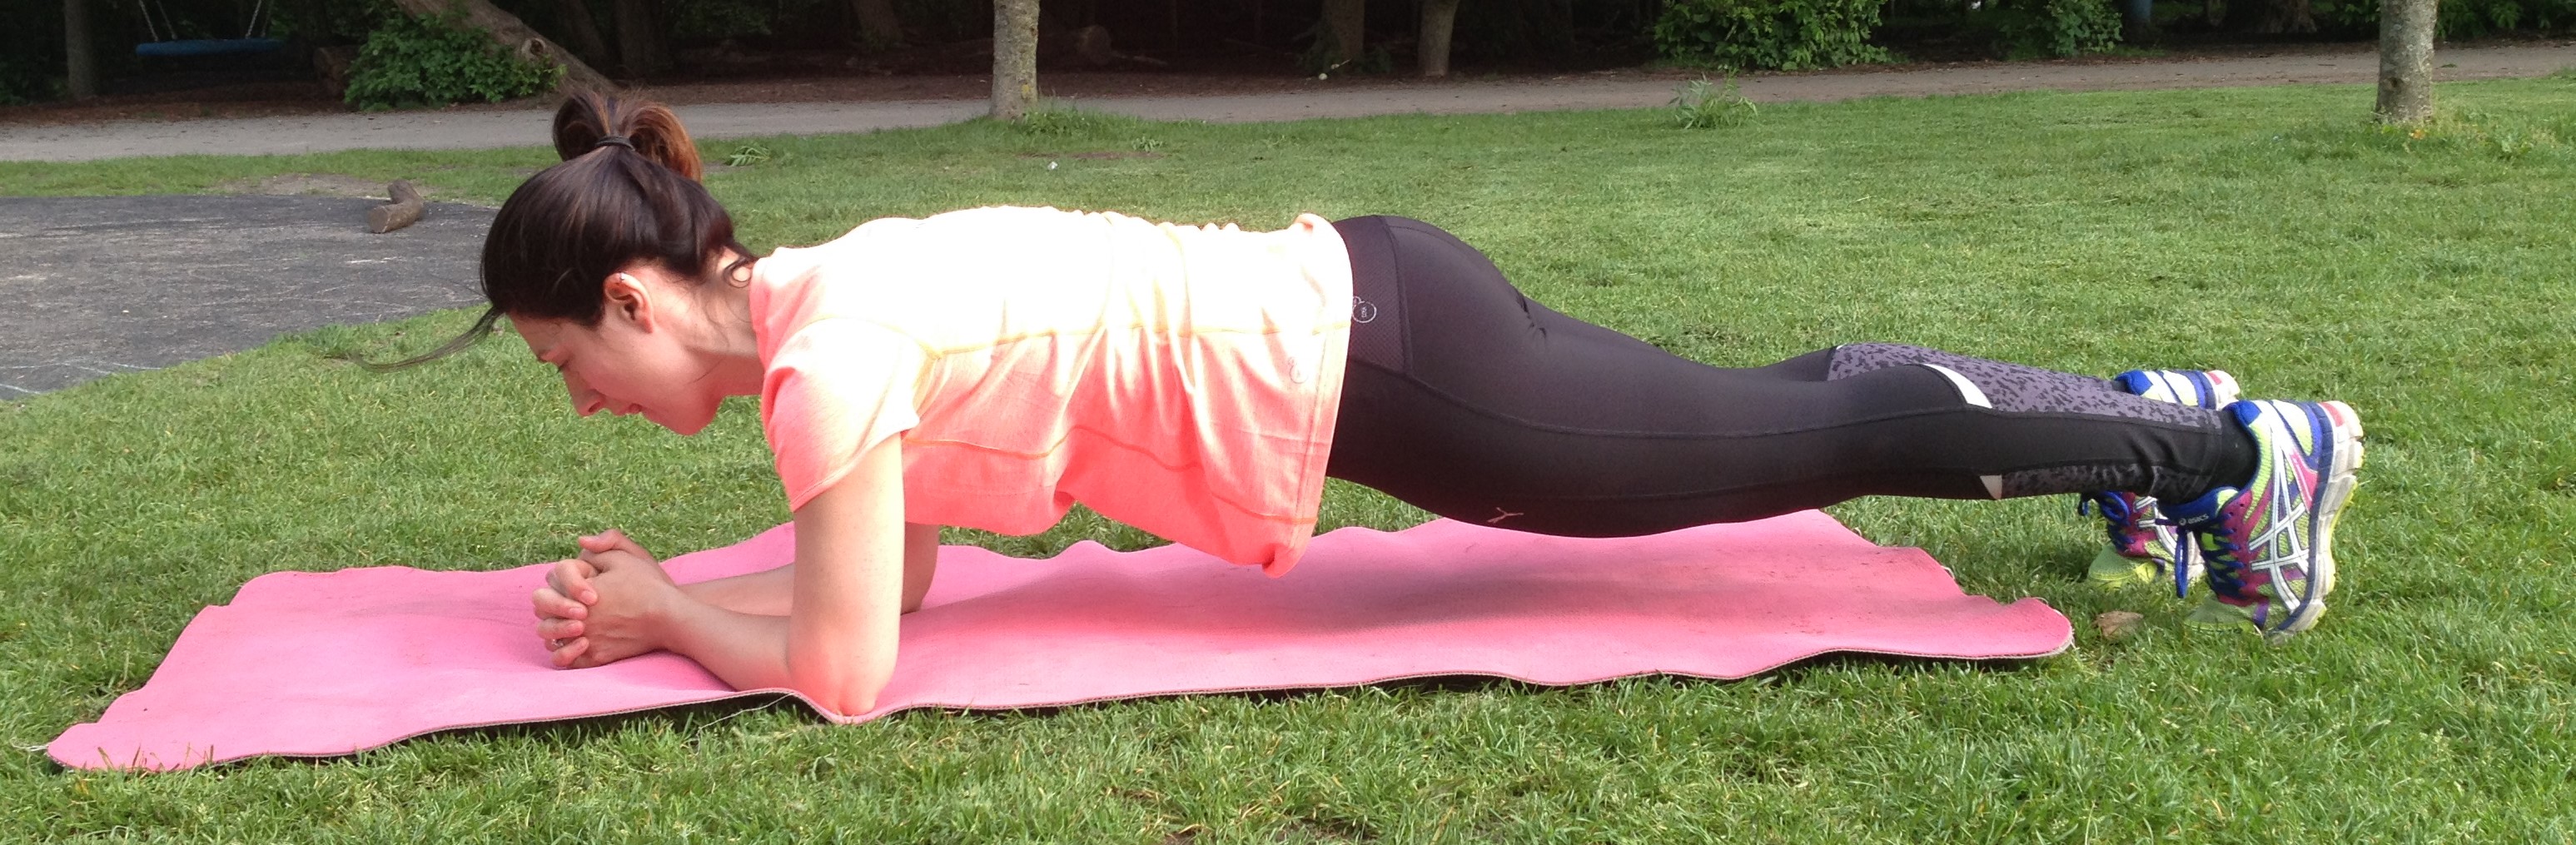
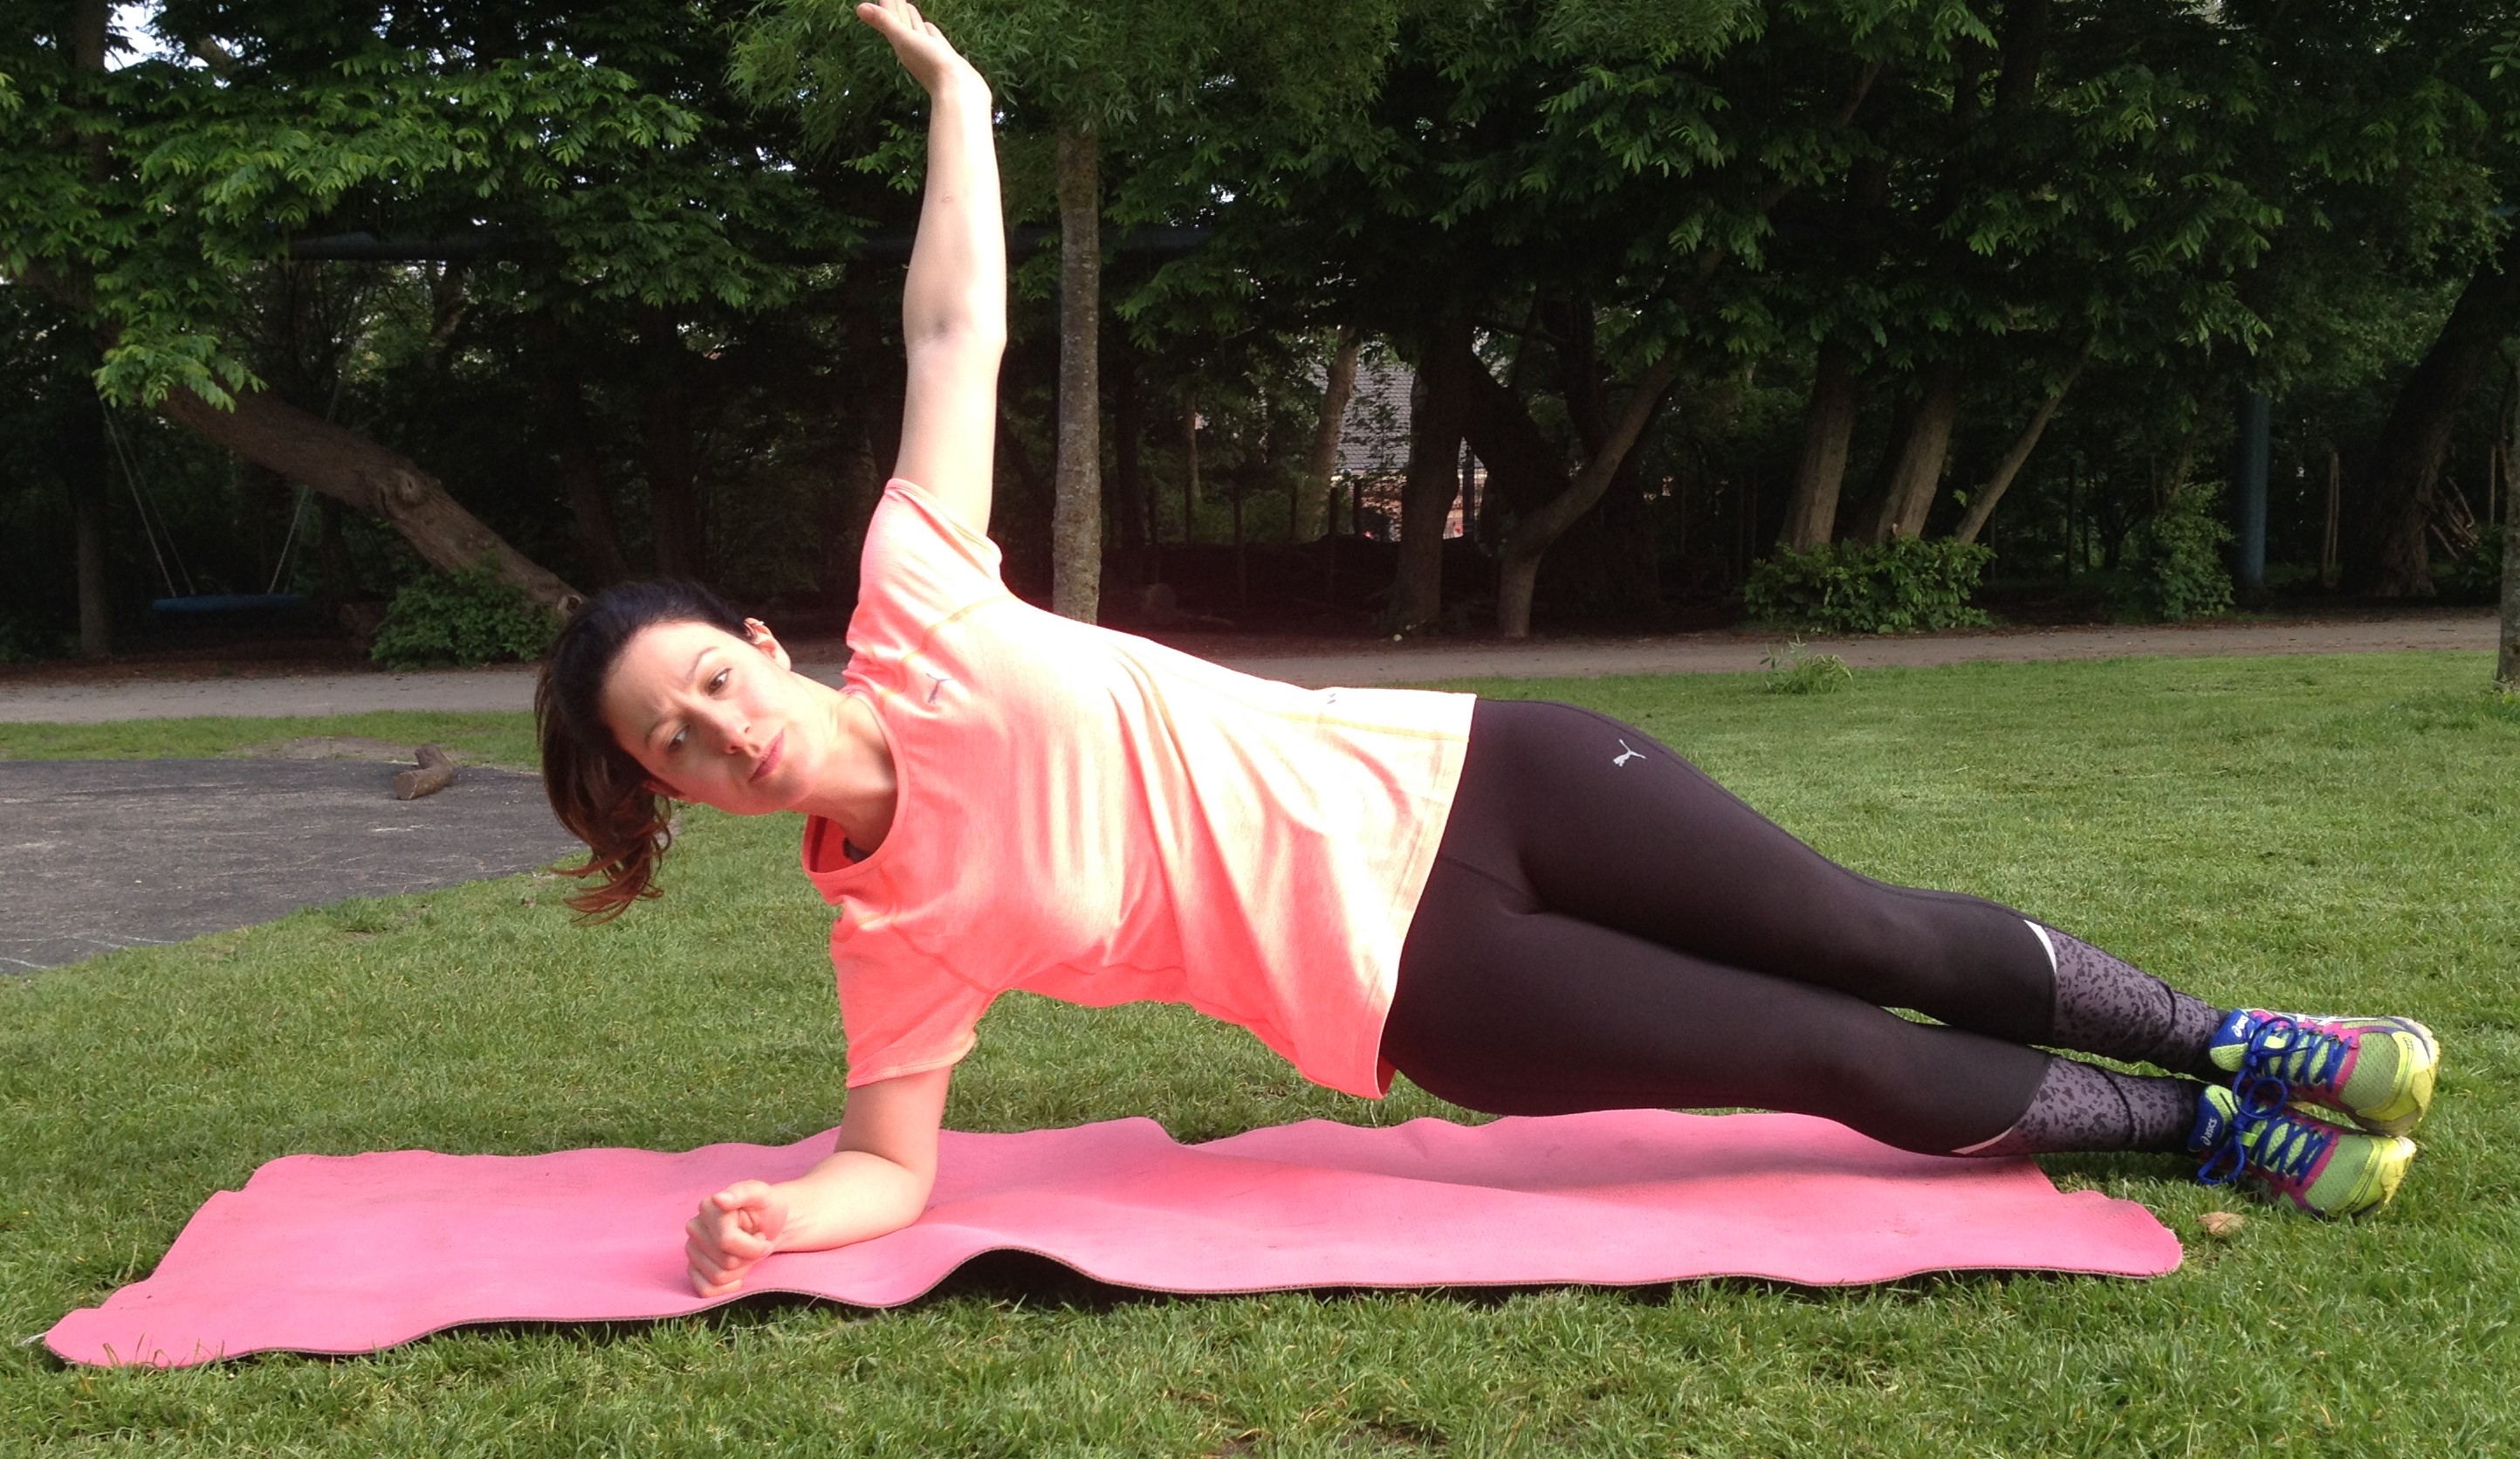
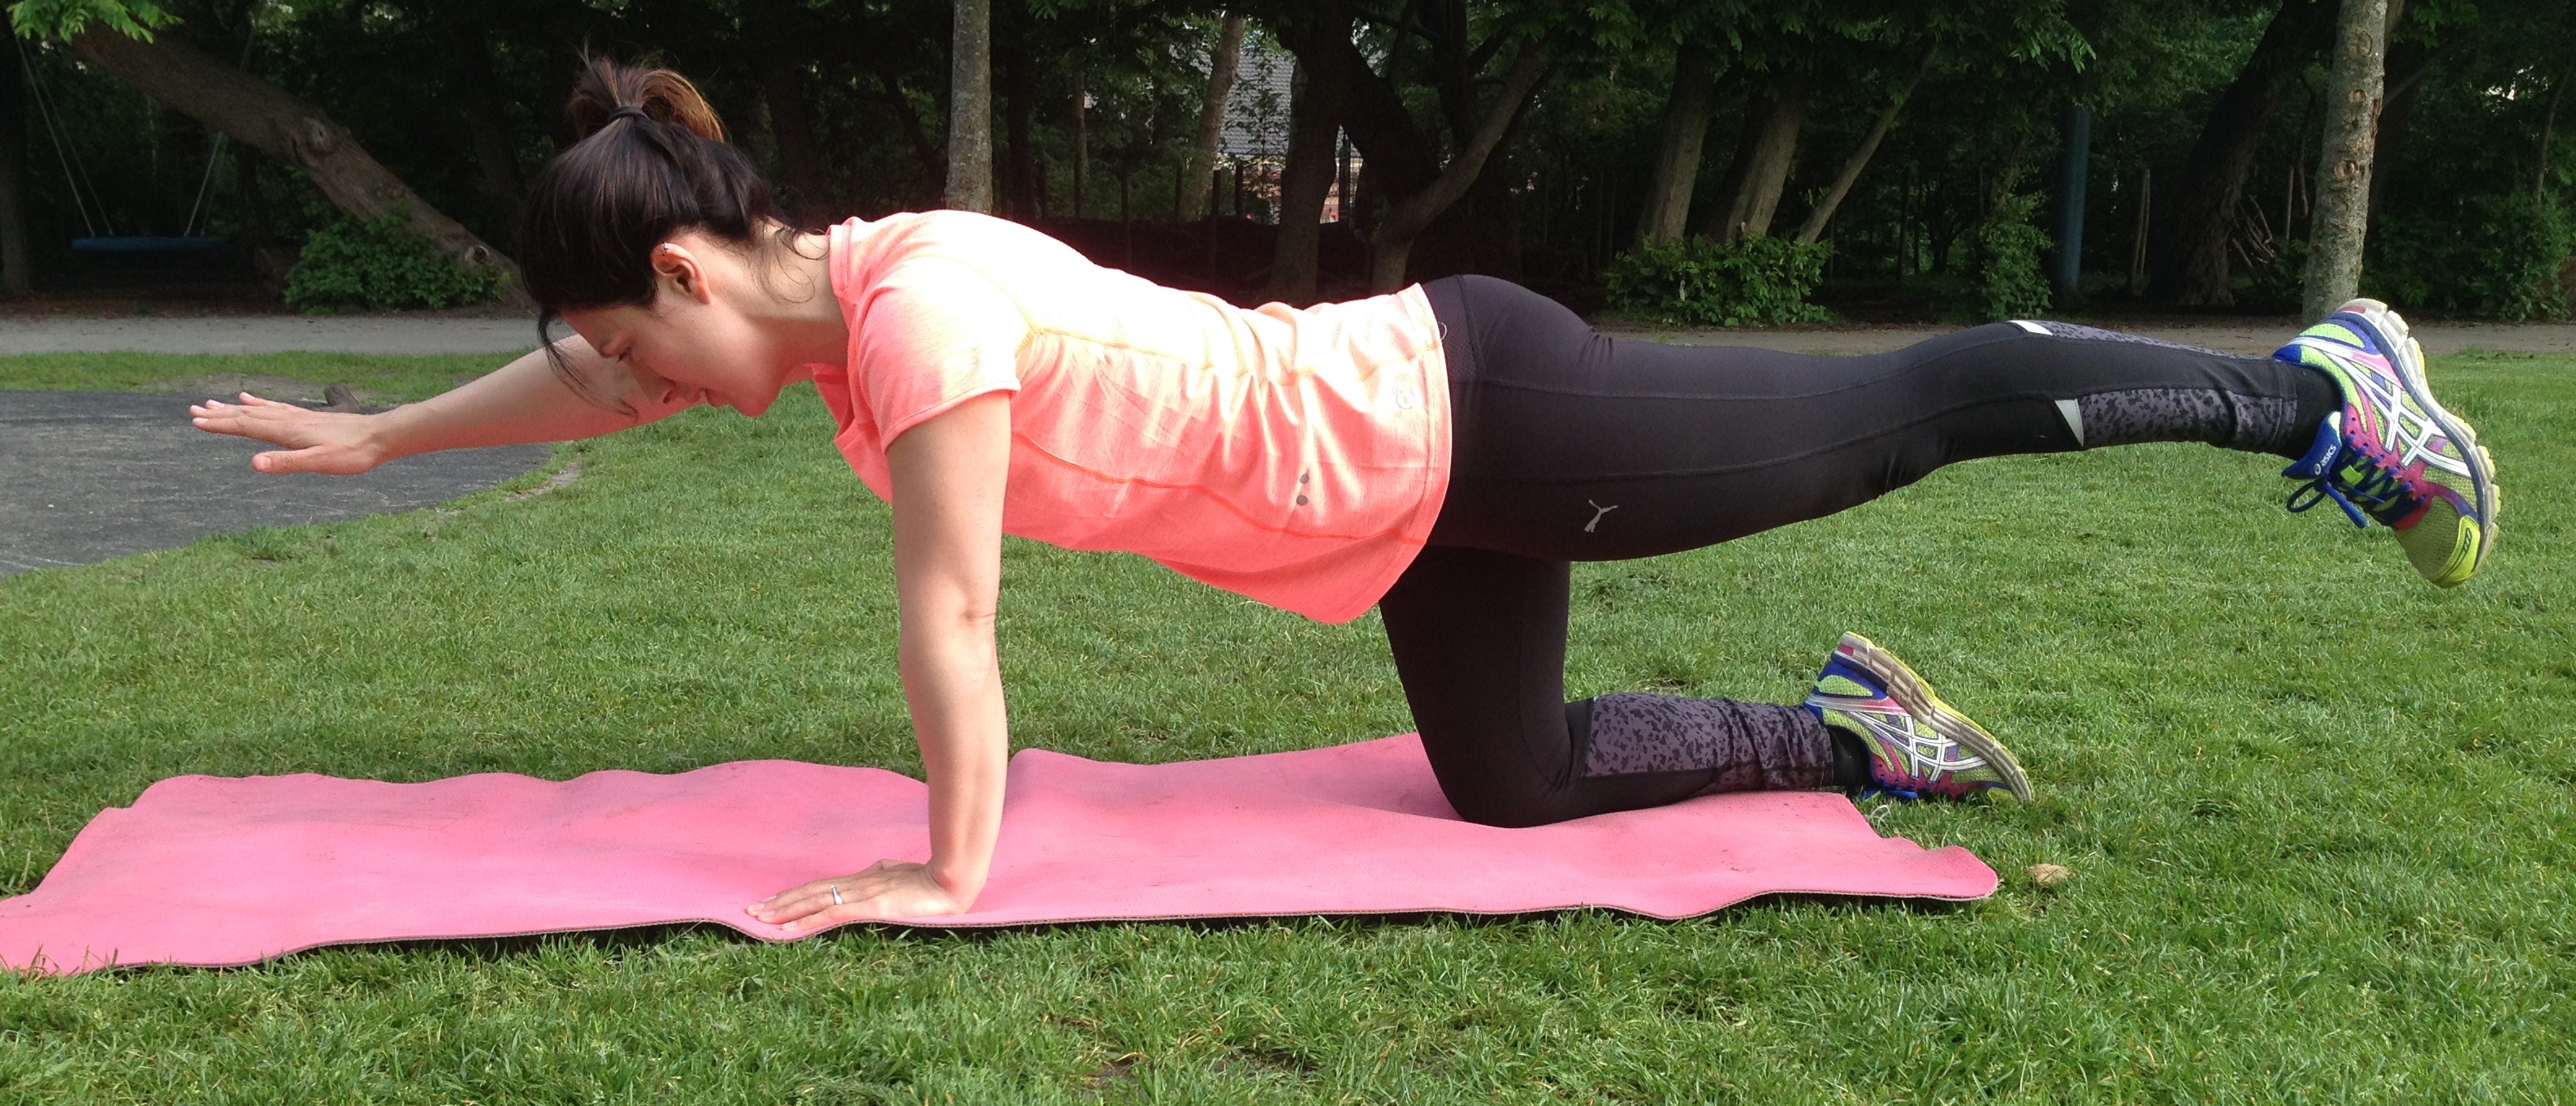
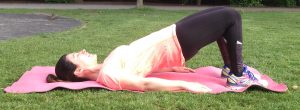
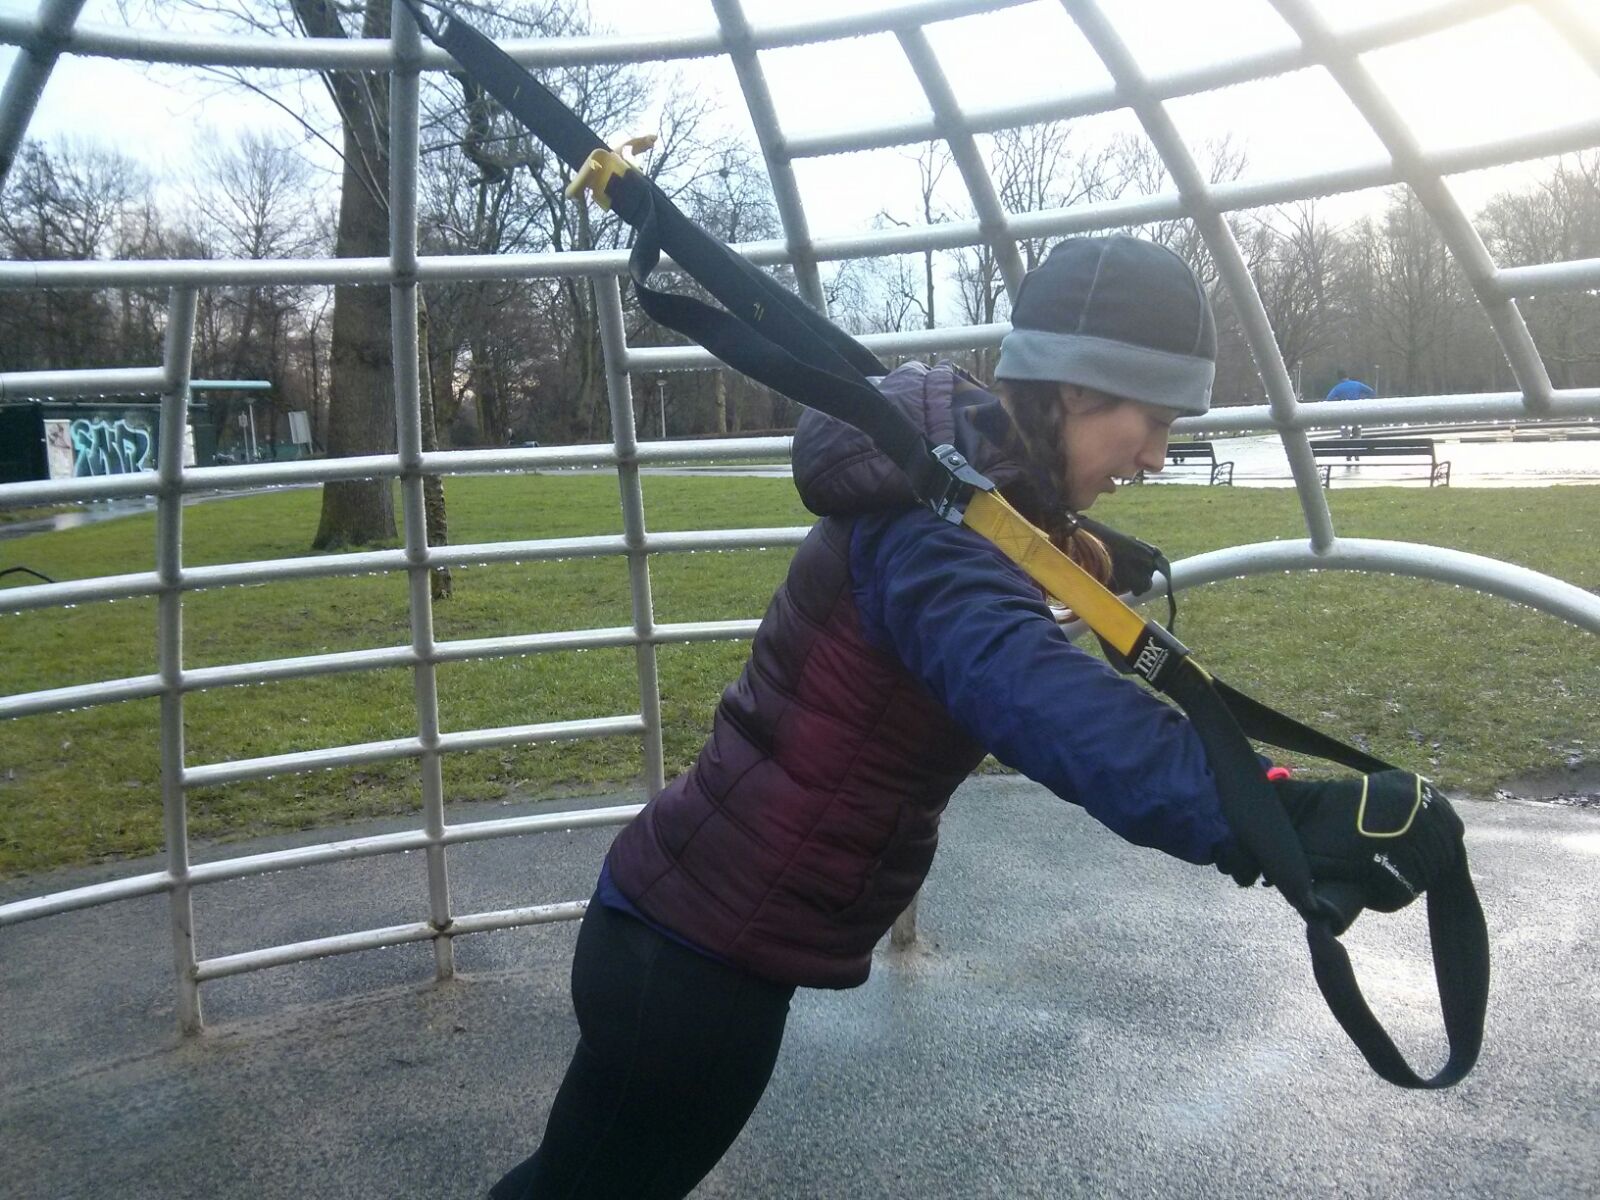
This is me working towards my goal of improving my conditioning and fitness with the help from my personal trainer Lorna Wilson from
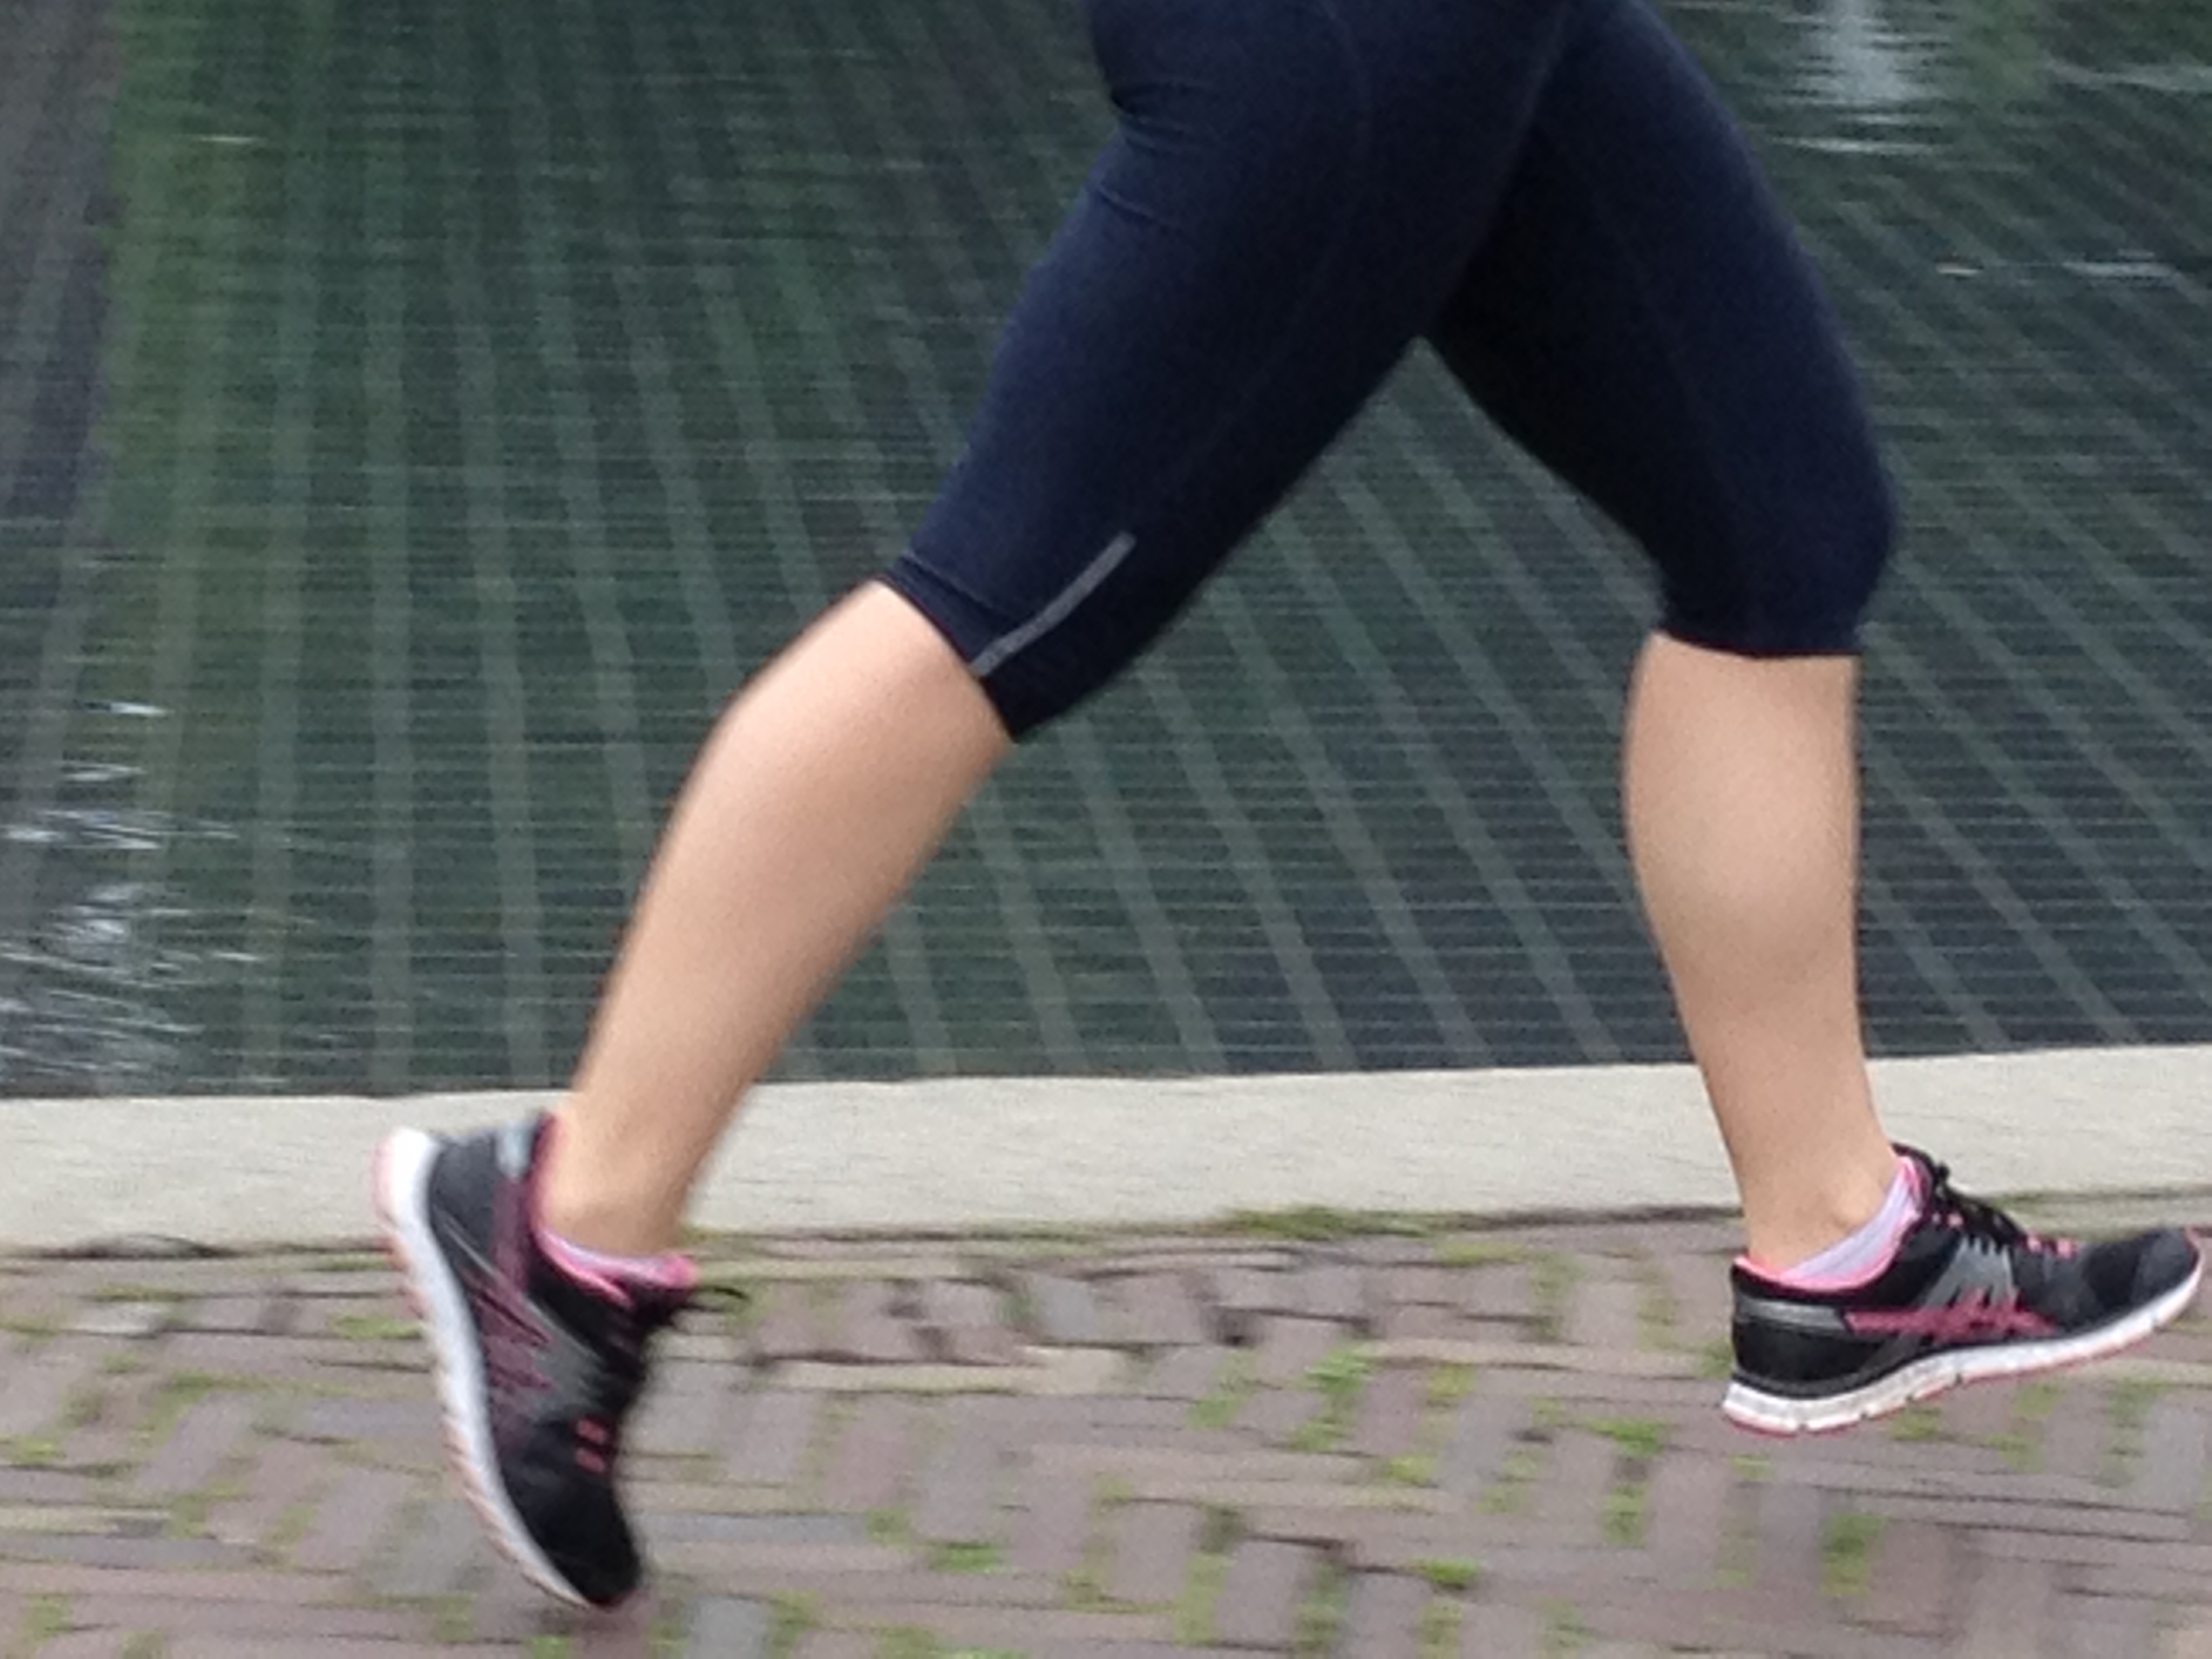
 Wilson’s Workouts.


Runners Niggles

Nat runningToday I want to chat about runners niggles/aches & pains and reducing the risk of injury in runners. Running is such a popular activity these days, it’sfree, can be done anywhere and at any time and so I am getting more and more athletes walking through my door with running related problems. Some of the time they can’t explain why they have suddenly got the problem they have presented to me. However it is usually down to one or two simple (but crucial) elements.

So what are some of the more common causes of niggles/aches & pains in runners? They may seem obvious when seen written down, but when people are training hard, in a routine, sometimes they are less noticeable. Here are just a handful of the many causes:

Suddenly changing your running style/technique – making a quick change to your running technique may have an impact on you biomechanically. Some people need to change their style to improve their efficacy (etc) but that is not the case for everyone.

Changing your route – a sudden change to the type of ground you run on may also have an impact on your tissues.
Changing footwear – the optimal running shoe is purely individual. Can the body adapt appropriately/positively to the new foot wear?

Increasing mileage and/or intensity of training – of course, people need to increase their distance and intensity when running to progress. However it needs to be an individually graded process (just because your running partner feels ready to go faster doesn’t mean you are!). Often increasing both, during the same run, can contribute to pain/injury.
Over training – this is linked closely to increasing distance/intensity. It can really contribute to injury. The body needs to be able to manage the load i.e. the tissues need to be able to cope with what you are asking of them. Many injuries are due to the body failing to adapt. i.e. exceeding what the body can handle. It is worth considering that what we can cope with can vary on a weekly basis (if not daily basis) depending on what stresses our tissuesand emotions are under and how fatigued we are.

Time off training – if you have taken time off training (whether it’s for a nice extended holiday, work commitments or injury) you cannot expect to pick up where you left off. Do that and you increase the risk of injury as the tissues cannot cope with the demands you are asking of them. Returning (or even starting) running has to be an individual graded programme.

As you have probably noticed, there is a definite theme running (excuse the pun) through all the above points. In a nut shell can the body cope with what you are asking of it? In other words, how do we get the body to cope with the load in order to reduce the risk of injury?

There are many factors that can help the body cope – nutrition, appropriate equipment (i.e. foot wear) and hydration to name a few. However I want to focus on one fundamental area that more often than not gets over looked by runners: strength and conditioning.
The tissues need to have the ability to adapt and to sustain what you are asking of them. It is important to work on strength, flexibility, power, endurance, speed and stability (including core) in order to achieve this. Many runners’ just run without having a structured programme that encompasses the other elements. Introduce strength and conditioning training to your weekly programme to work towards improving the ability of your body to cope with the demands you ask of it.

It is also necessary to include rest days from running. Do fewer runs in a week, but ensure they are good quality runs. An example of a weekly structured programme is: 2 days running with one day strength training and one day conditioning (it is important to have rest days for strength training also).

So to sum up: When considering changing an element of your routine consider the possible impact this may have on your body and tailor the change accordingly. If the tissues are able to adapt and cope better then there is less risk of injury. This can be achieved through adding strength and conditioning training to your weekly running programme.


Happy running!


Ask Yourself – How Good is Your Work Posture?

The worlpurchased posture imaged we live in today means we find ourselves in front of a laptop/computer for a large part of the day. Even professionals that you wouldn’t associate with sitting at a desk in front of a computer (like myself for instance) have to at some point in order to complete some of their daily working (and home) tasks. This, over time can take its toll on posture resulting in aches and pains.

Do you find yourself sinking further down your chair whilst your head gets closer to the screen as you get engrossed in what you are doing? Are you looking at a screen for hours every day? Take a moment to think about your posture when that happens. In fact, take a look at your posture right now, as you are reading this. If your head is nicely aligned (not poking forwards) with your spine, your shoulders are back and you’re not slouching then I commend you! For the majority of people though, that won’t be the case.

As we sit at our desks, our shoulders become rounded and forward, our head is forward and we slump. We feel comfortable in that position. It’s certainly easier to maintain that position, especially as we get tired. This sustained posture however has an impact on our tissues. The chest muscles can become tighter, pulling your shoulders forwards. Slouching can cause the back muscles to lengthen (whilst still having to maintain being strong). It is not surprising that a large number of my patients’ are coming to me with work related posture aches and pains.

There are a few general, simple tips that will helpimprove your posture:
Make sure you take regular breaks from looking at your screen. I know it sounds obvious but it is so easy to get engrossed in the job at hand and before you know it several hours have passed and you’ve not moved (especially when that deadline is looming).
Is there an option for a standing desk? If there is it may be worth trying it. The amount of time stood verses sitting needs to be gradually builtup over time.
Have a chair that supports your back, including your lower back. If the chair does not give lower back (lumbar) support try placing a small rolled up towel between your lower back and chair. You will instantly grow taller. You may not be able to tolerate this position all day but even for a few minutes is better than not at all.
Neck exercise. Ensure the head is in a neutral position – not tilted up or down. Retract your chin (imagine you are trying to make a double chin). Hold for as long as possible (as you will soon return to your normal position as you get distracted by whatever you are seeing on your screen!).
Shoulder exercise. Sit tall. Bring your shoulder blades together using the muscles between your shoulder blades, not by just thrusting your chest out. This will bring your shoulders back. Again hold for as long as possible (as you will soon return to your normal position as you get distracted by whatever you are seeing on your screen!).

These are just some little tips that can help with day to day posture. There may well be other factors that contribute to aches and pains around the neck and shoulder region but being aware of your posture and being proactive in improving/maintaining good posture is a good place to start.